My boys love bread and this recipe is one of their favorites. It is a super easy recipe from Bisquick and reminds us of the biscuits from a local chain restaurant.
Ingredients Needed:
2 Cups Bisquick
2/3 cup milk
1/2 cup shredded cheddar cheese
2 tbsp. margarine
1/8 tsp. garlic powder
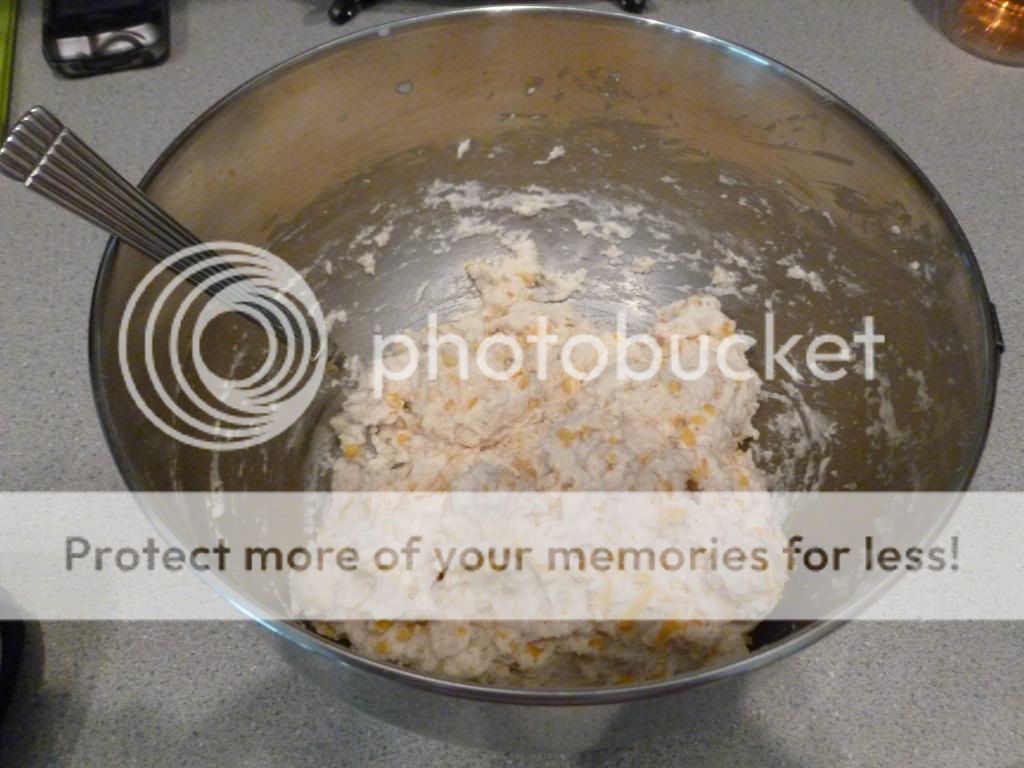
Preheat your oven to 450 degrees. First, stir the Bisquick, milk, and cheese in a bowl until a soft dough forms. My boys like a lot of cheese so I usually increase the cheese to 3/4 cup.
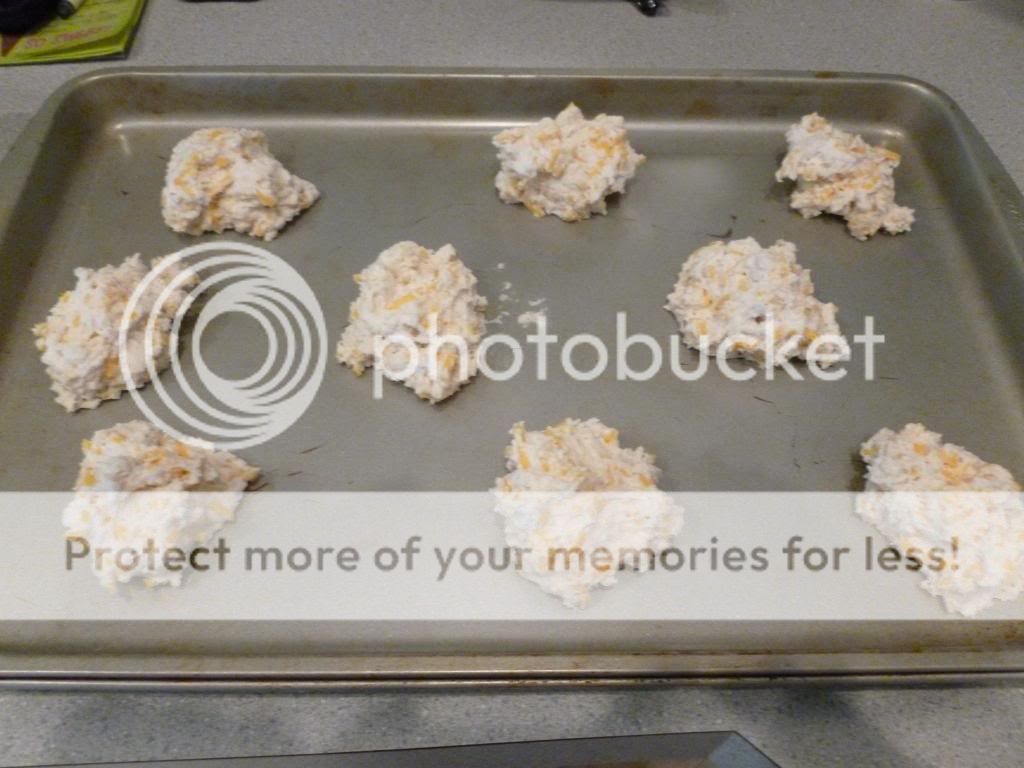
Next, drop dough by spoonfuls onto an ungreased cookie sheet. You should have 8 or 9 mounds of dough.
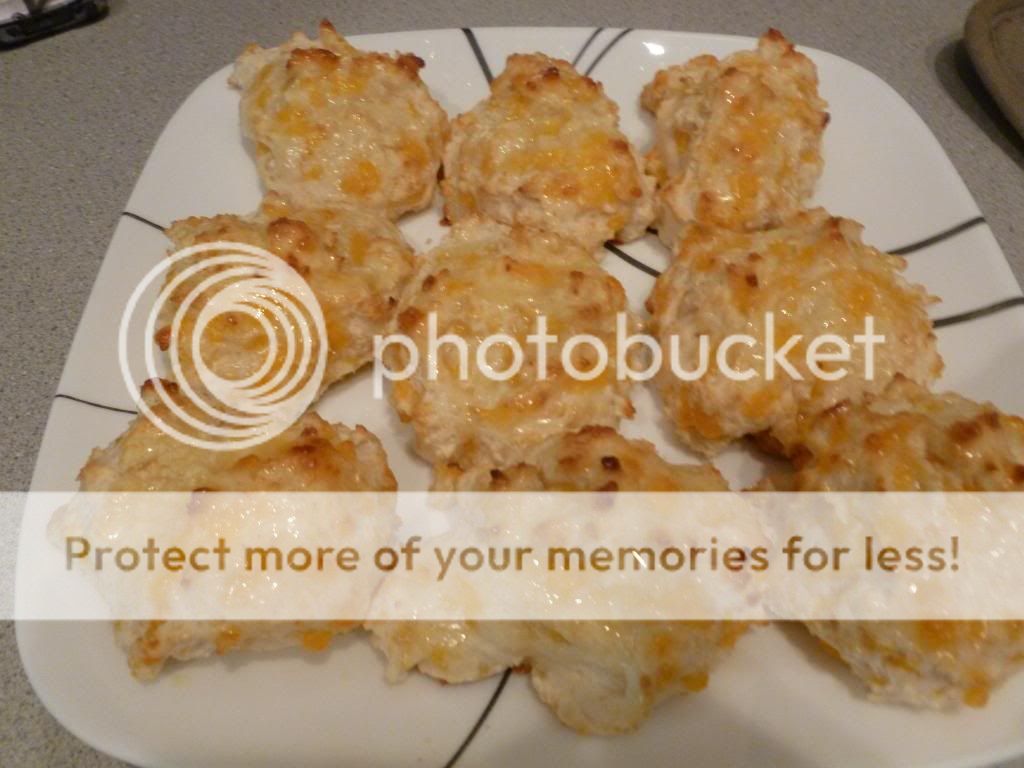
Bake 8 to 10 minutes or until a golden brown and not doughy looking.
Melt the butter in a microwaveable bowl and add the garlic powder. Then, brush the mixture over the rolls.
Finally, ENJOY!!! These biscuits are so cheesy and buttery and delicious!
After taking down my 4th of July decorations I needed a wreath for my front door and was tired of the everyday one I had already. I knew I wanted to stick with purple colors to complement my door and match my welcome flag. After walking around the Dollar Store I decided on a Hawaiian Lei Wreath.
Supplies Needed:
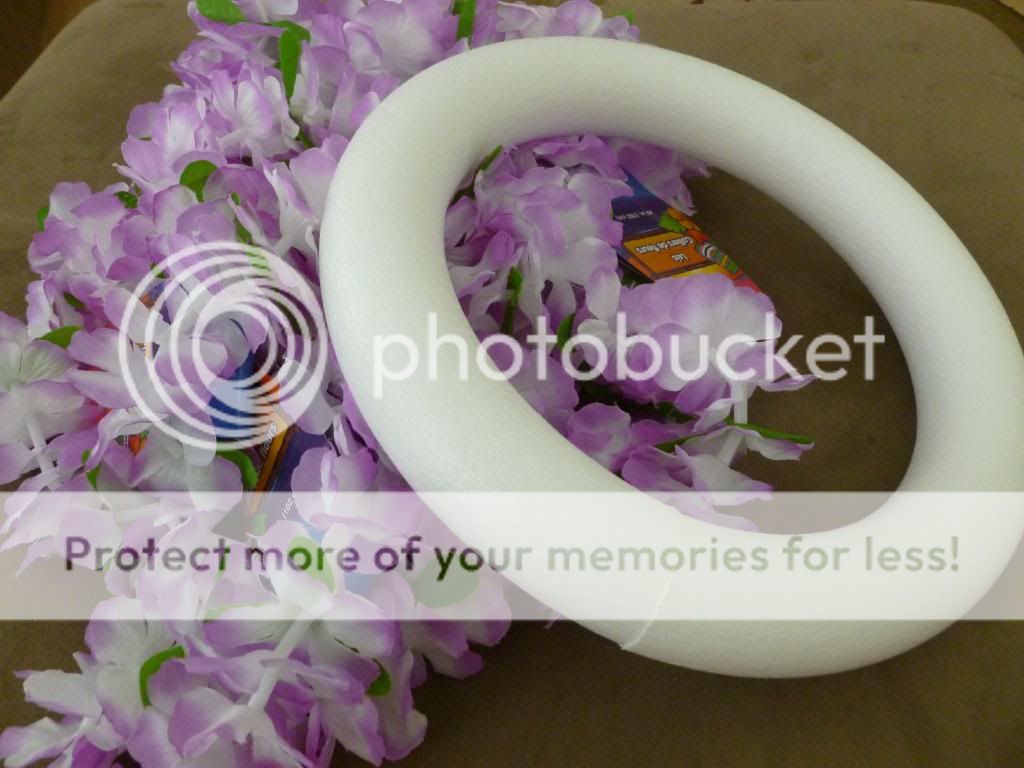
12" Wreath Form (I used a 40% off coupon at local craft store)
5 Leis (from Dollar Store--they had a ton of colors)
Green Floral Wire
Straight Pin
Scissors
First, I took a lei and cut the string right near the knotted end.
Then I removed 4 flowers and the plastic spacers between them and retied a knot on the loose end. Repeat this for all five leis. Next, take a straight pin and pin the knot to the wreath and start wrapping one of the leis. When you get to the end, take another lei and tie that string to the string on the first lei.
Then, continue wrapping the leis and tying them together until all five are wrapped on the wreath form. You can fluff and space them to fill in any bare spots. Next, take green floral wire and cut a piece of it to wrap around a section of the lei in the back and knot into a loop. This forms a loop to hang the wreath from.
That's all there is to it - and supplies were under $10 - even better!
Finally, hang on your door.
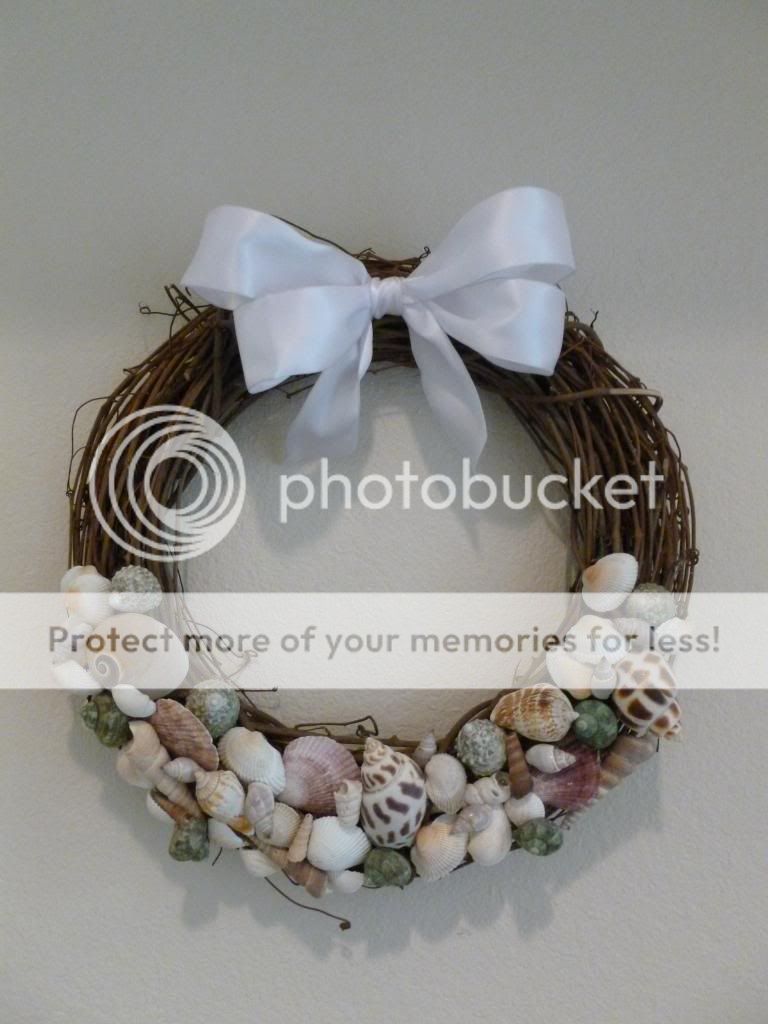
Welcome Back for another Crafty Friday! Today I am going to show you how I made a beach themed wreath for the alcove in my entryway for the summer.
Supplies Needed:
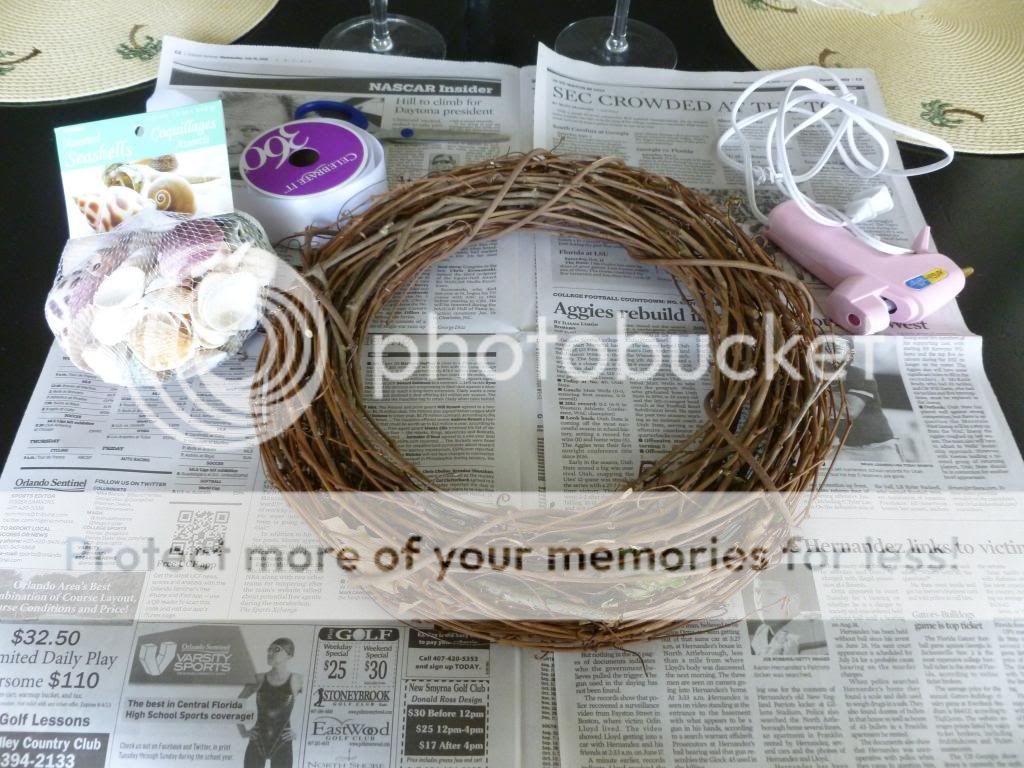
12" Grapevine Wreath Form (40% off at local craft store with coupon)
Bag of Seashells (40% off at local craft store with coupon)
Ribbon
Hot Glue Gun
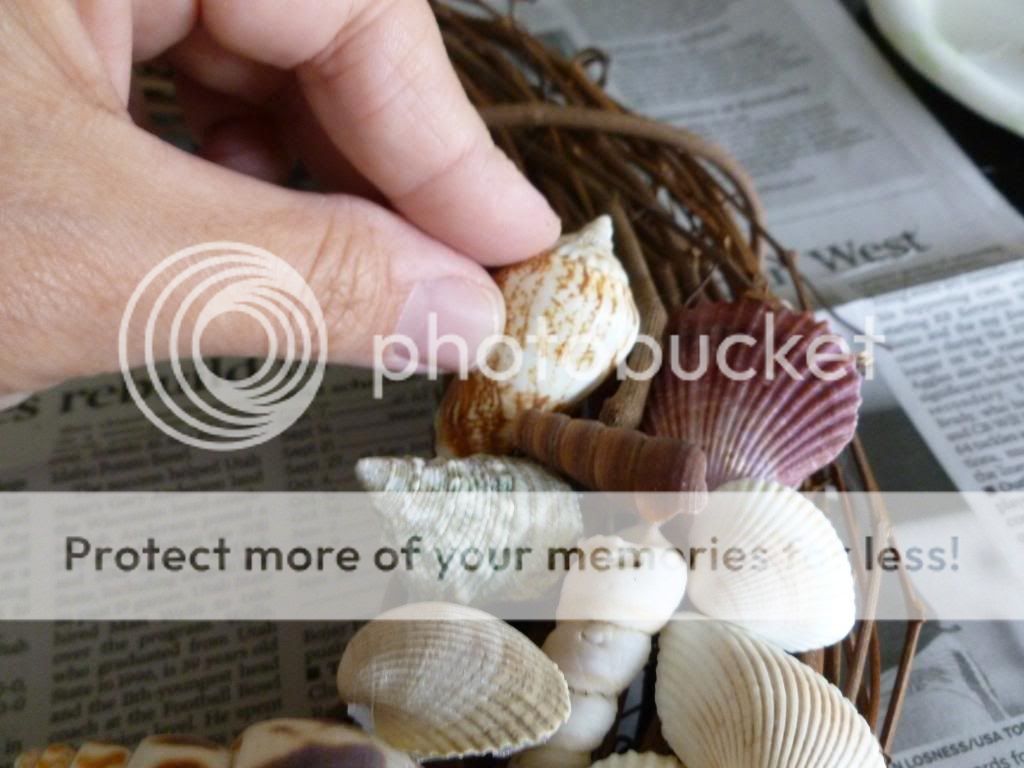
First, take out your shells and decide on your placement. That is the hardest part of this. I decided to do the bottom and go about halfway up and tried to make it three dimensional. Then, just take your shells and hot glue them individually to the wreath.
After applying the glue to each shell I held them in place for a few minutes to help secure the bond.
I used about 3/4 of a bag of shells (original price before coupon was only $3.99) I tried to get a bag that had lots of different shapes and colors to make it more interesting. After, I was done applying the shells, I made a simple bow out of white ribbon that I had leftover from another project and hot glued it to the top of the wreath.
I didn't need to make a hanger because the vines made a natural "hook" for me to hang on the nail in my alcove. If you needed a hook you could make one out of floral wire and loop through the back vines. Finally, hang on your hook.
I think it adds a nice touch to my front alcove. Luckily, my house has a tropical palm tree theme to it all year round so I didn't need many "summer" additions. (And yes, my "HOME" letters are missing an "O" - it is in the process of being painted) Hope you enjoyed today's Crafty Friday!