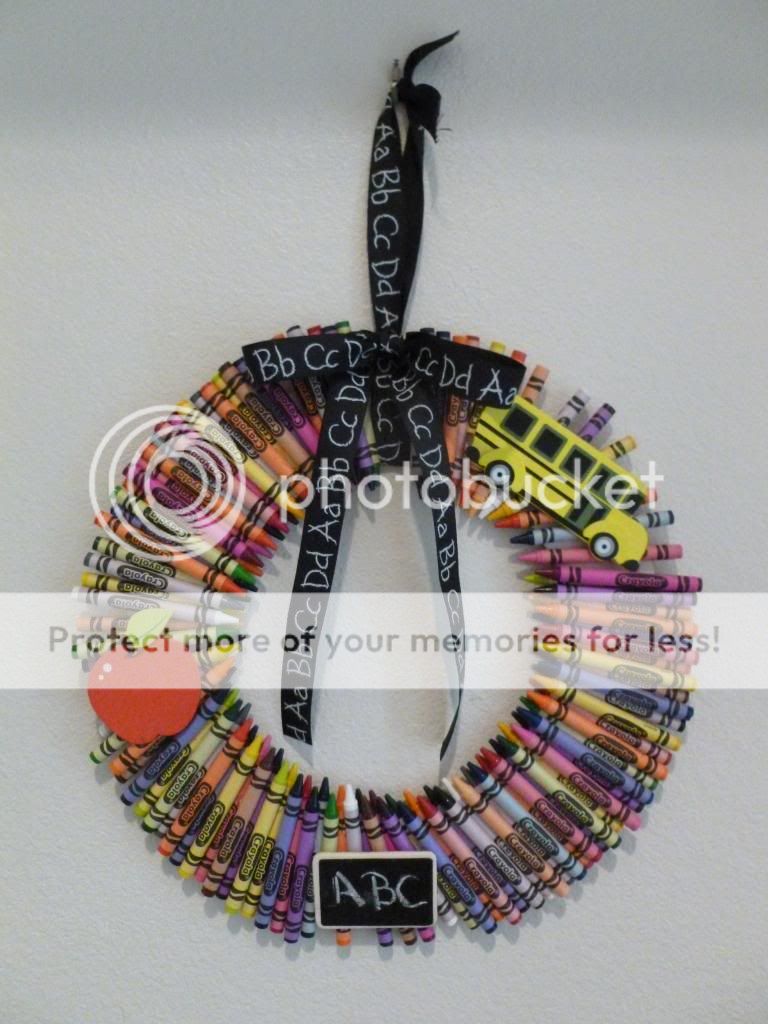
School time is coming quickly here in Florida. The kids go back in less than twenty days. My little guy is old enough this year for preschool and will be going 5 half days. (And no, I am so not ready for it!) We also have the new baby coming. I decided I wanted to make a big deal out of school for him and make it special. So I decided to change out my summer décor in the front alcove to a back-to-school theme. I saw the idea for a crayon wreath all over Pinterest. Here is my spin on it.
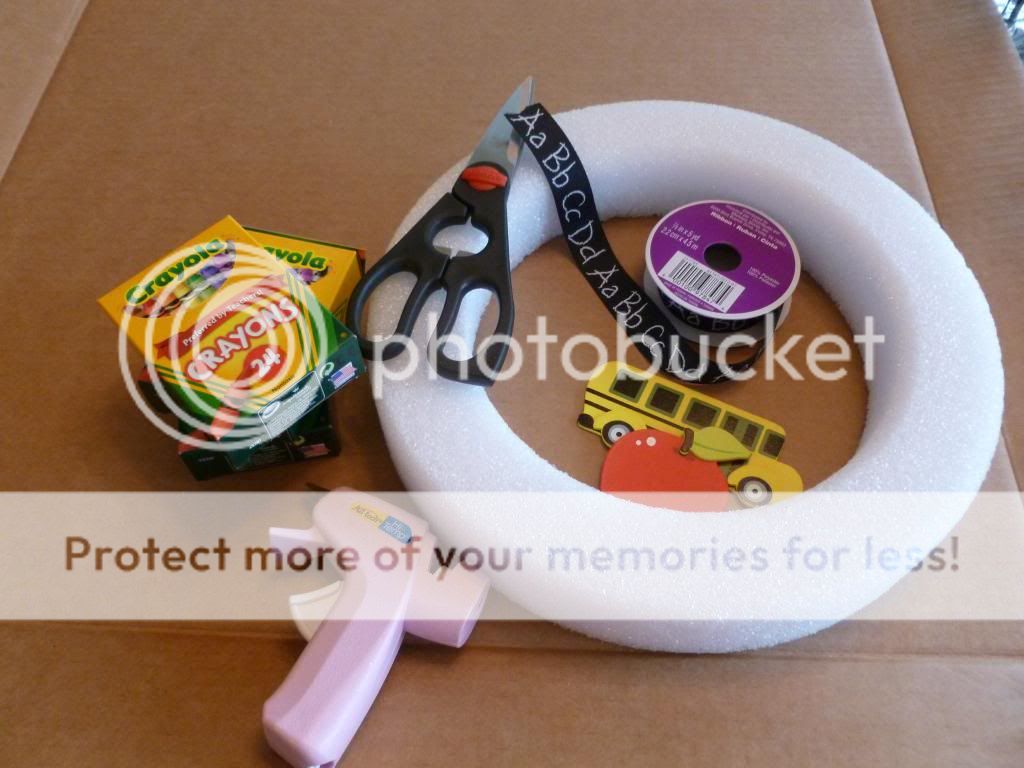
Supplies Needed:
Piece of cardboard
Wreath form or circles for tracing
Glue Gun
Scissors
3 boxes of 24 crayons (I got mine at Staples for $.25 each)
Ribbon for hanging the wreath
Wood School Theme pieces for accents
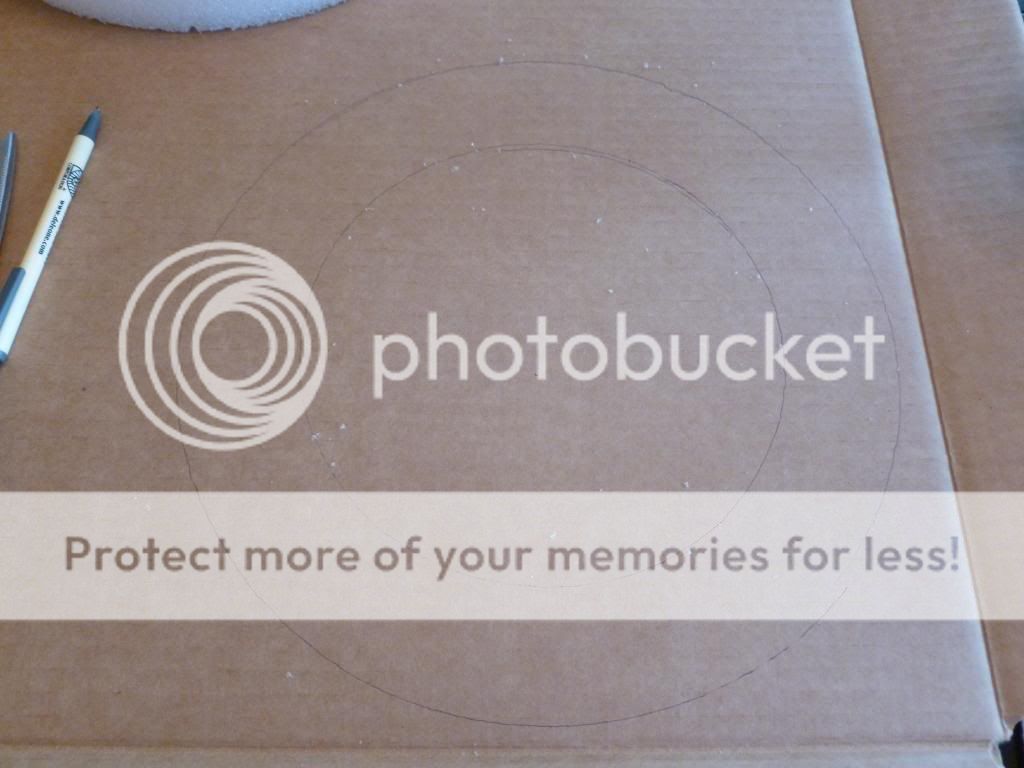
First, I used the wreath form to trace the inner ring and outer ring onto the cardboard. A lot of people on pinterest used embroidery rings as a base but I didn't want to spend any more money or make another trip to the store.
Next cut out the circles to form the base for the wreath.
Then I started gluing the crayons around the wreath. I made sure to run a strip of glue in the middle of the crayon on the back so that the Crayola logo was showing.
Keep gluing the crayons around the cardboard wreath form. I had no pattern to it - I just made sure no two colors were next to each other. And it is okay if there is spaces because we are going to fill them in.
Once I had gone all the way around the cardboard wreath, I went back and filled in the smaller spaces with another crayon glued on top to create a second layer.
Next, use your wood accent pieces to cover some of the larger spaces created when layering the crayons.
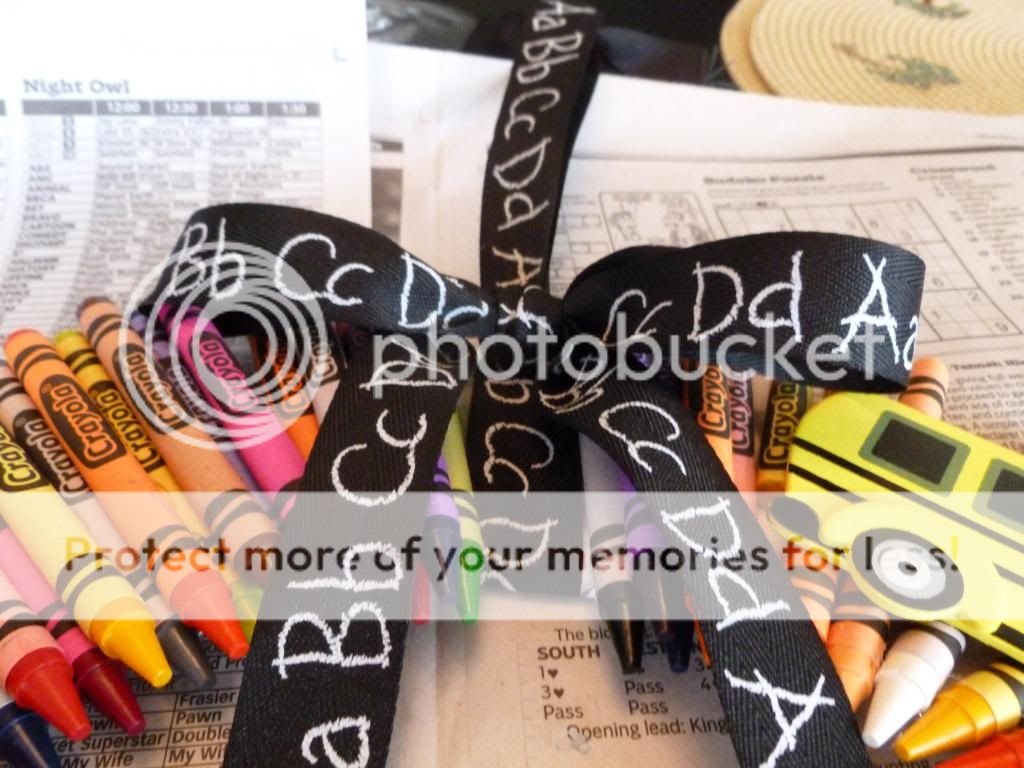
I used a wooden apple and bus purchased pre-painted at a local craft store for around $.59 each. Then I used a mini chalkboard I found in my craft stash and wrote "ABC" on it. In another larger space I strung some leftover "ABC" ribbon for hanging.
Once the ribbon is strung, tie in a double knot making a loop for hanging. Then create a bow around the loop to finish it off.
And that's all there is too it. I hung it in my alcove and will reveal the rest of the decorations in another post so stay tuned!!
We are getting ready for back to school in a few weeks so my little guy and I were sorting through our school supplies to see what we had. And what we had was a big mess of open pen packages! I was trying to think of what to put them all in when I remembered I had a stash of Crystal Light Plastic containers in the garage. (I never throw stuff out)
First, I took four of the containers and just slid the plastic wrapper off of them.
Then I had my little guy sort them by color. The pens fit inside perfectly and the lids went back on. I was going to label them but since they are clear I just lined them up inside the desk drawer and we were done. And even better, we realized we don't need to buy any pens this year!
I love seafood and could eat it everyday! Here is an easy recipe for shrimp - just a warning - it is not low calorie!
Ingredients Needed:
1 lb. deveined and cleaned shrimp
1 1/2 sleeves Ritz Crackers
1 stick of butter or margarine
Garlic Powder
Optional: Walnuts
White Wine
First, peel the shrimp and take off the tails. I always buy deveined shrimp to make it easier and quicker.
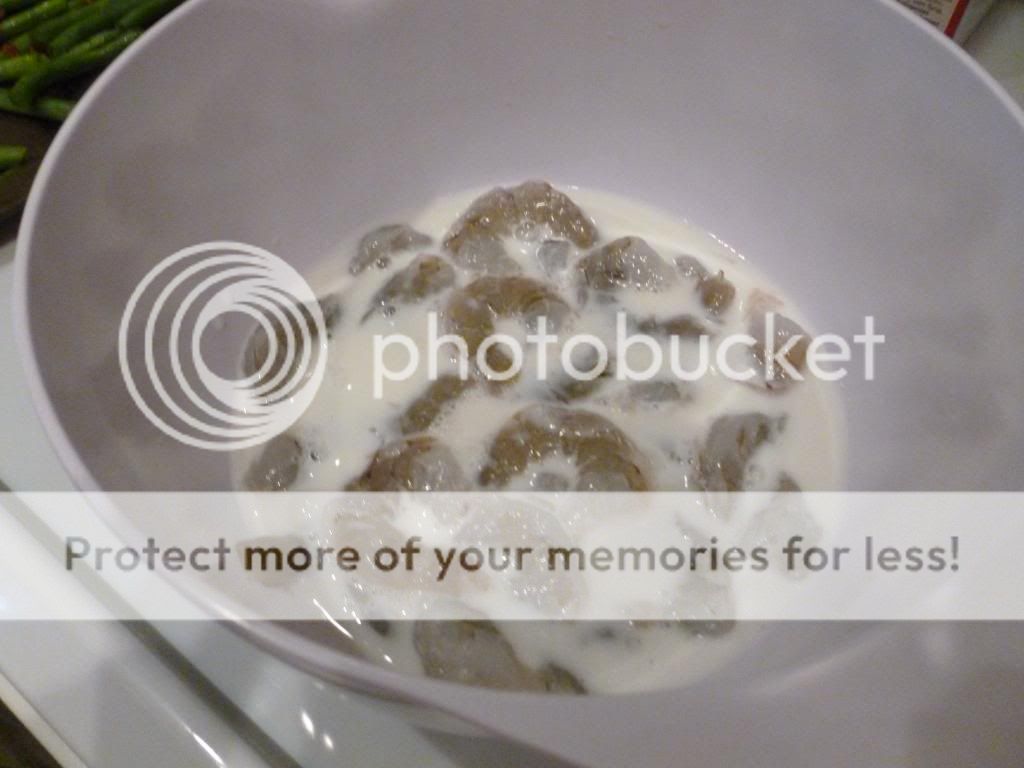
Then I prefer to soak my shrimp in a bowl of milk for about a half hour. I do this to take some of the "fishy" smell and taste away.
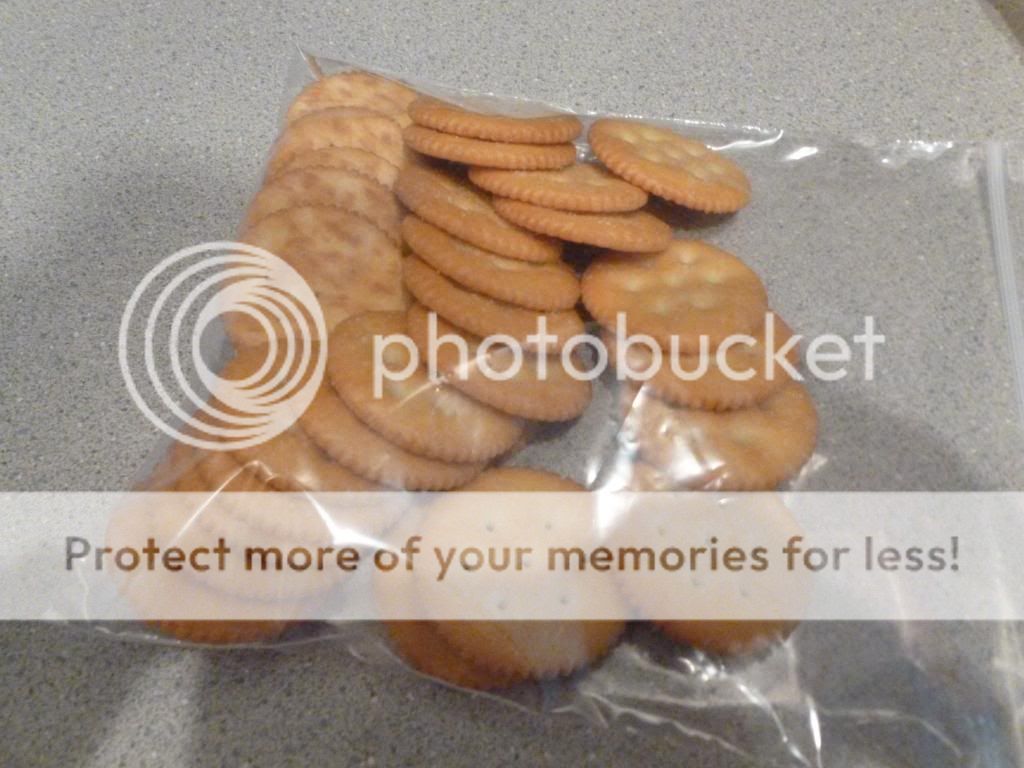
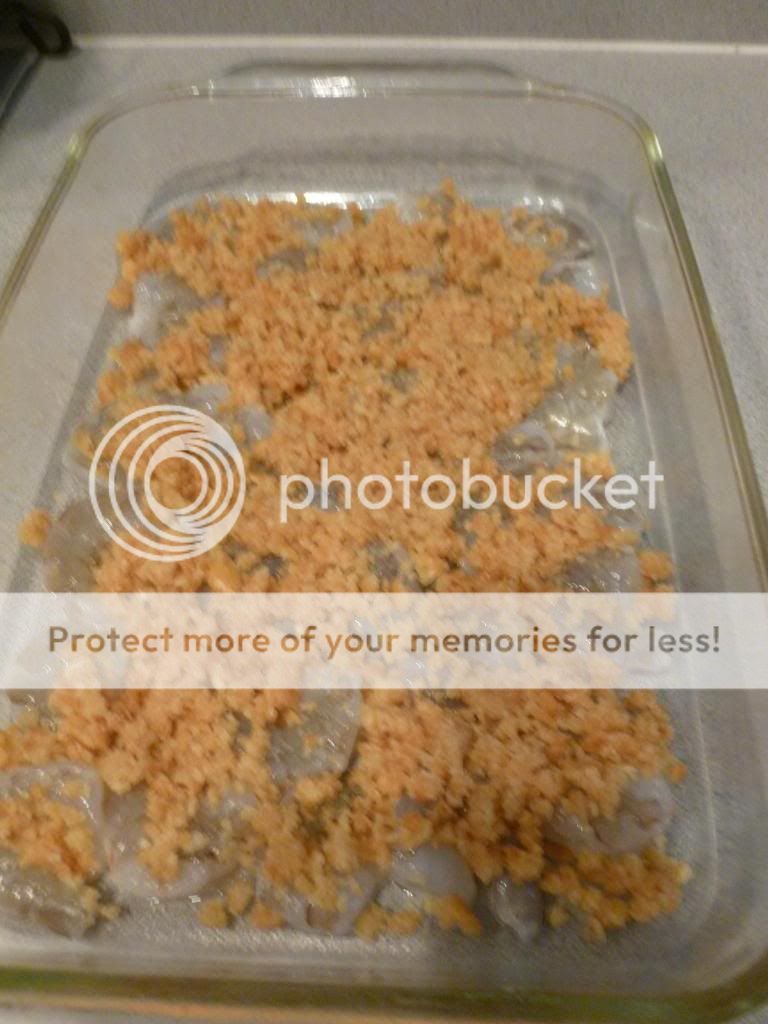
Preheat your oven to 350 degrees. Then drain, rinse, and pat dry the shrimp. Next, take the shrimp and lay in a single layer in a greased 13 x 9 x 2 pan. Put the Ritz crackers in a plastic sandwich bag and crush into crumbs, or you could use a food processor.
Melt the butter or margarine in a bowl in the microwave. Then add the crushed crackers to the butter. At this point you could also add the optional ingredients of crushed walnuts and white wine. If adding either ingredient it is all a matter of taste, I usually use a 1/4 cup of each. Then mix all ingredients together.
Next, spoon your mixture over the shrimp. Then sprinkle some garlic powder over the top of the mixture. I usually sprinkle about 1/2 teaspoon, again it is all personal taste.
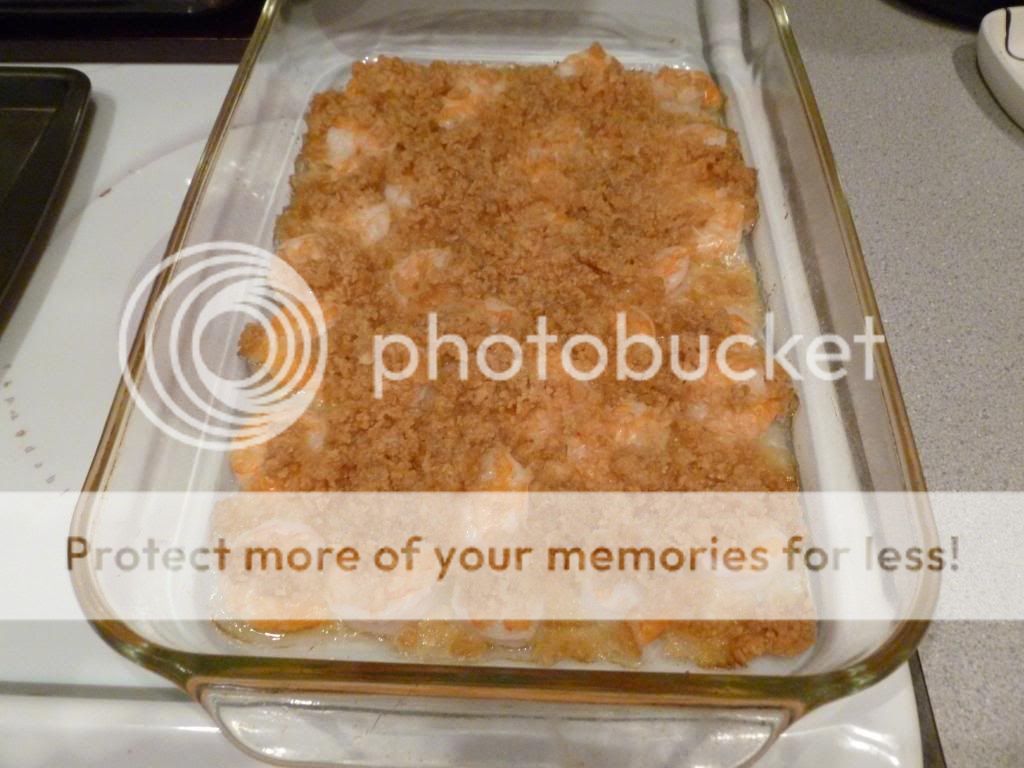
Bake uncovered in the preheated oven for 20-30 minutes until topping is golden brown and shrimp are pink. We usually have it with a salad, rice pilaf, and a glass of wine of course! Enjoy!!!