Monday, June 10, 2013

Recipe Monday - Bowtie Pasta with Chicken and Broccoli

Welcome to the first Recipe Monday!!! 

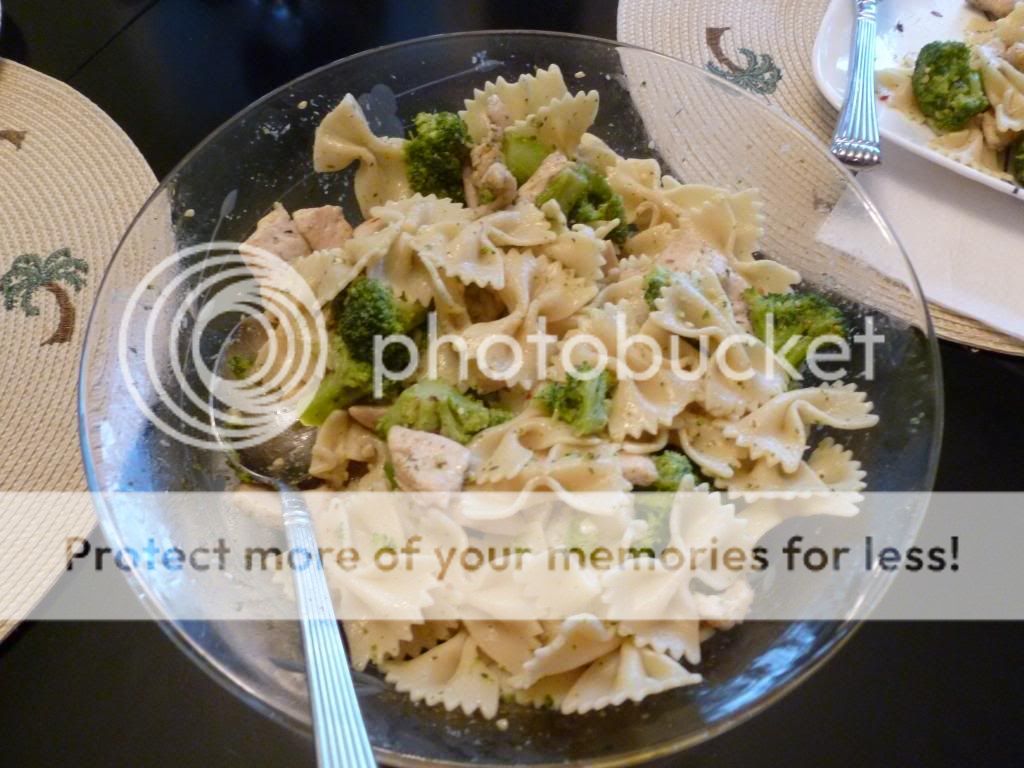
My boys and husband would eat pasta everyday if they could, where I am not a big fan of pasta - especially any with red sauce.   This recipe is one all of us will eat and love.  And even better it gets my boys to eat broccoli!!!!  It is called Bowtie Pasta with Chicken and Broccoli.  

Ingredients Needed:
    Bowtie Pasta
    Chicken 
    Broccoli (fresh or frozen)
    Olive Oil
    Seasoning (we use Weber Roasted Garlic & Herb)


First, you need to cut your chicken into chunks or cubes.   I usually use boneless breasts or strips but have when I am in a hurry also used the packages of grilled precooked chicken and cut those into pieces and just heated them.  Then, take some olive oil and coat the bottom of a skillet and heat over medium heat.  Add your chicken to the hot skillet.  While the chicken is browning I sprinkle some of the Weber Roasted Garlic and Herb seasoning over it.   When cooked through and browned remove from pan.  Place the chicken in a bowl.

While the chicken is cooking you can boil your water and cook your pasta according to the directions on the box.  When the pasta is done cooking, drain it.

For the broccoli, I usually buy the steam in the bag kind and it cooks in the microwave in about 5 minutes.  You can also buy and cook fresh broccoli if you would like but I think the frozen tastes just as good and is much quicker. 

Once the pasta and the broccoli are both done, add them to the bowl with the chicken.   Stir them together.  Then I take and sprinkle some of the Weber Roasted Garlic and Herb seasoning over the mixture and add 2 tablespoons of olive oil.   Mix together again.  If the pasta looks too dry add some more olive oil by the teaspoon.  You don't want too much olive oil - just enough for the seasoning to stick too. 


 That's it - just serve and enjoy!!   I usually will serve it with a tossed salad and garlic bread.  Yummy, quick, and easy!!   


Friday, June 7, 2013

Crafty Friday - Father's Day Frame

Welcome to the first Crafty Friday!!!

Today's craft is an easy one you can do with the kids for Father's Day.  It is a Father's Day Picture Frame. 


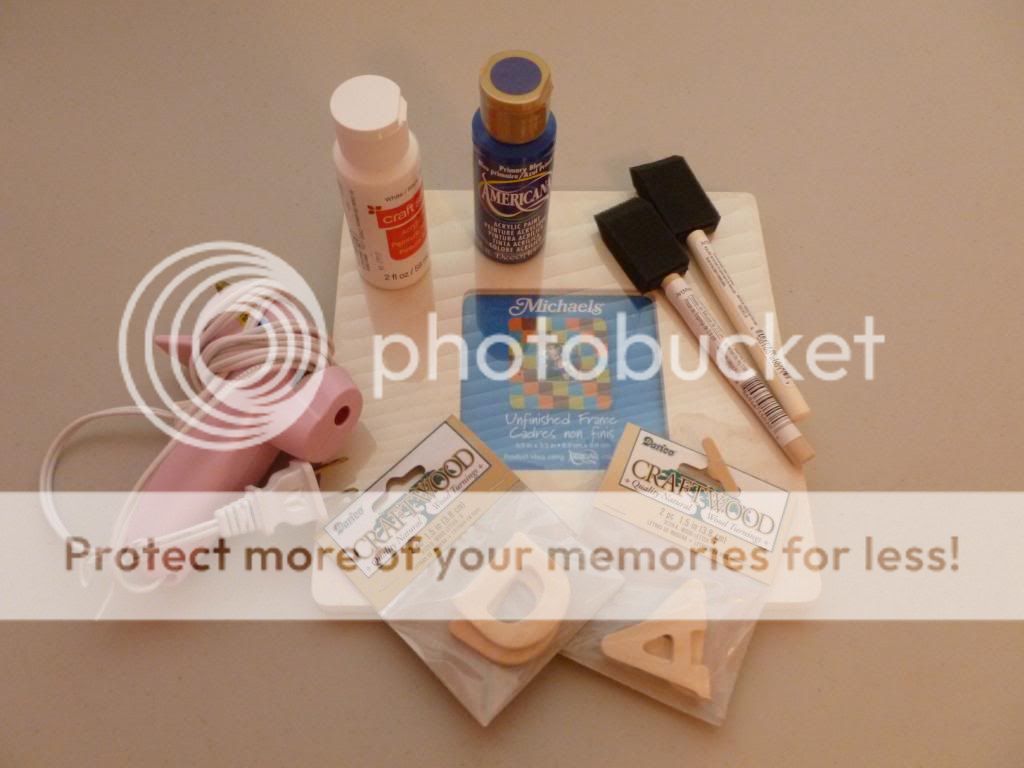
  Supplies Needed:
  Wood Frame (I got mine in the $1 section at Michael's)
   Wood Letters
   Paint
   Foam Sponge Brushes
   Glue Gun or Wood Glue
    Picture for the frame

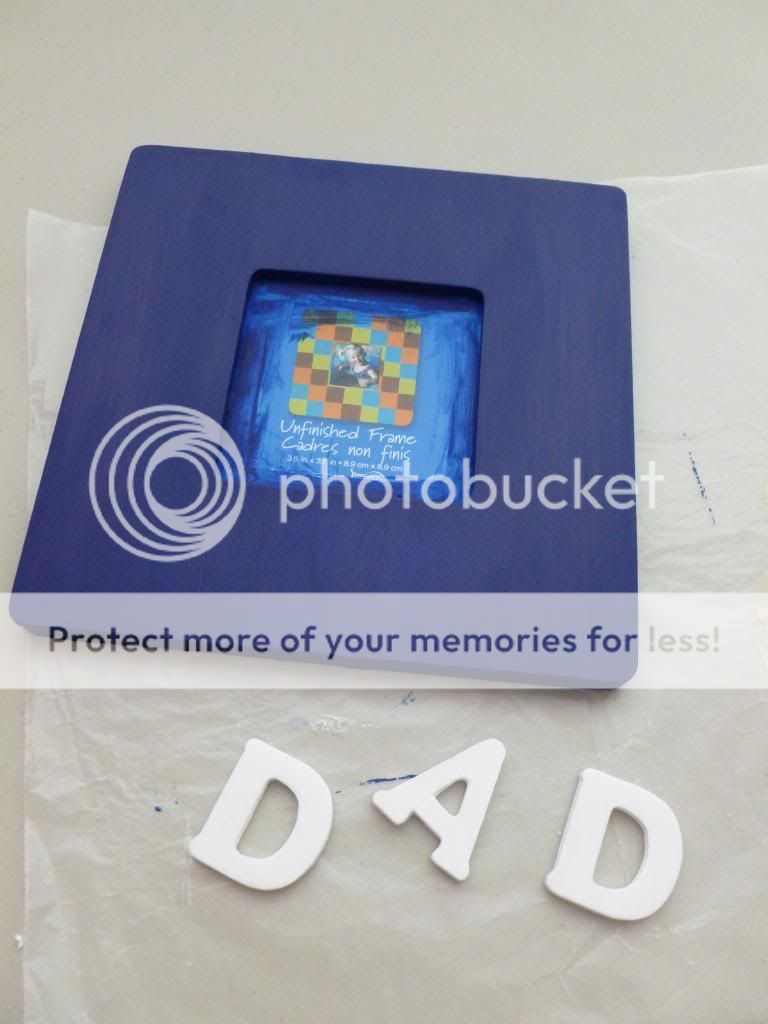
First we painted our wood frame in blue (for Batman since my little one is obsessed with Batman) using a foam sponge brush.  I use these all the time because they are cheap and I can just throw them out and not have to wash them.   The wood frame soaks up the paint so we had to do 3 coats.  Allow to dry in between coats.   We also painted the back and the stick included for making the frame stand. 

You could also choose to put scrapbook paper on the frame using mod podge or spray adhesive.

In between coats we painted the wood letters in a white paint. (and played Hi Ho Cheerio)  We chose to spell out the word "DAD".   You could spell out Family or Father or leave off the wood letters altogether.  Whatever your kids choose.  The letters only took two coats. 


Next I glued the letters onto the frame using my hot glue gun. PLEASE do not allow the children to do this step as glue guns are hot and dangerous.  You could also use wood glue to adhere the letters onto the frame.

At this point your kids could add stickers, gems, glitter, feathers, whatever do-dads you have in your craft box.  My little guy just wanted it plain because as he said "Daddy isn't fancy schmancy." He is too funny!!!

Finally we printed a picture of him from the computer.  I just printed it onto plain copy paper because once inside the frame it looked just as good as photo paper.   

And there you have a personalized Father's Day gift!  


Wednesday, June 5, 2013

Water Wednesday

Welcome to the first Water Wednesday!  Every Wednesday throughout the summer I will post a game or learning activity you can do with the kids in the yard or in the pool to stay cool. 

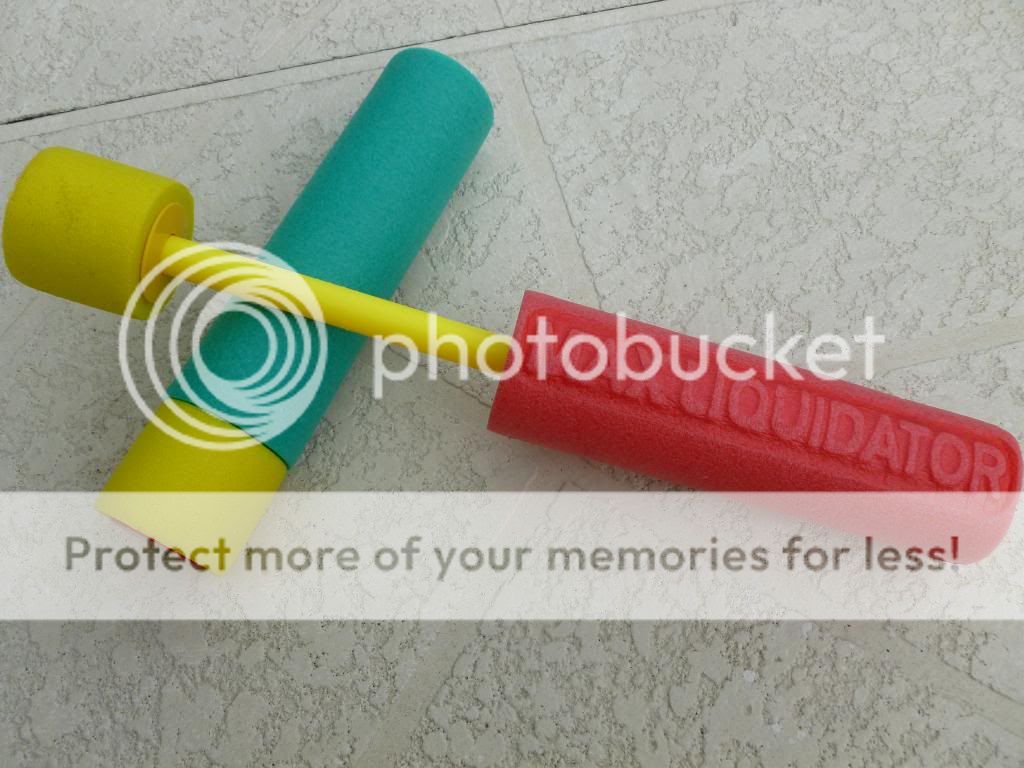
We live in Orlando so it always seems to be hot here. My kids are like fish and would live in the pool if I let them.  They have these squirt guns called Max Liquidators (thanks to the boys Nana) for the pool.


They always seem to be trying to squirt me or the cats or each other which causes trouble.  So I came up with an idea....how about squirting at targets!!  The supplies needed are easy and inexpensive- right up my alley.  

First I printed off some pictures from the web of Batman Villains since my little guy is obsessed with Batman.  You can print as many images as you want and you could do any theme you wanted. 


Then I ran the images through my laminator but you could also put them between two pieces of contact paper or even seal them in plastic bags.  I trimmed my shapes down but you don't have to. 

Next tape the images around your pool area.  I used painters tape because it holds well and doesn't leave a residue when removed.   For extra exercise you could post them around the yard and have the kids run around to different images squirting at them.


Then just aim and squirt and have fun!!!  (And yes eventually the boys start squirting each other again!)     I hope you enjoy this fun game and check back for more Water Wednesday ideas!!!