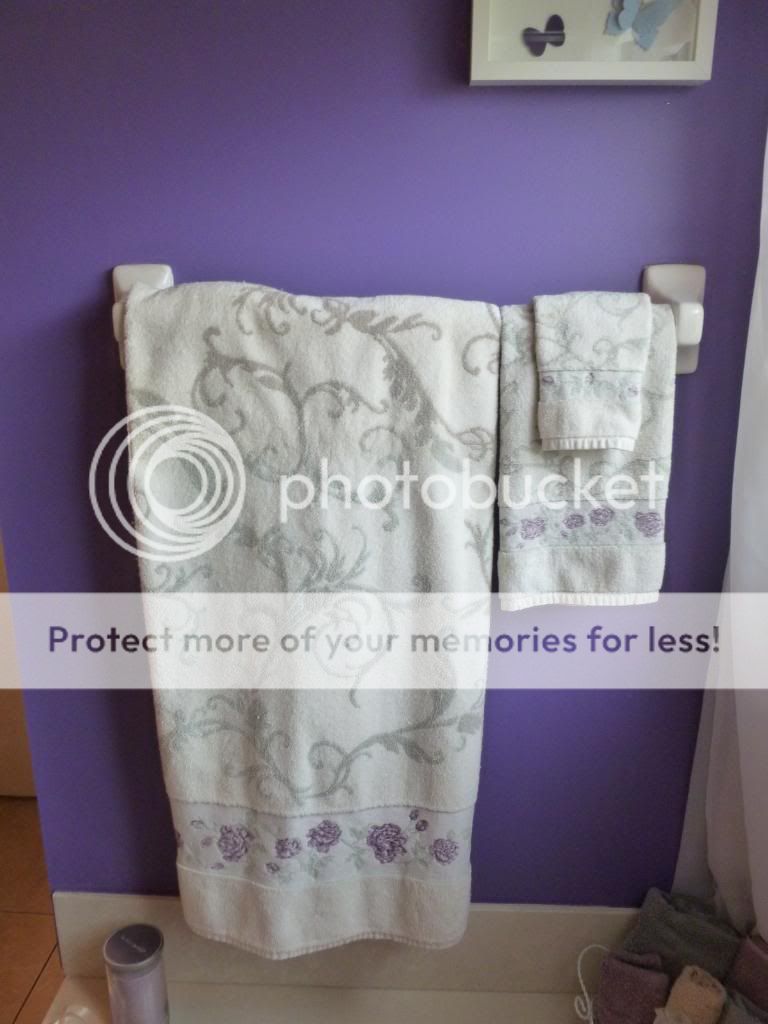
In my bathroom I had these towels for years and my husband never said anything but I knew they were a little too flowery for him.
When I was shopping the other day at one of my favorite discount chains I found the striped purple towels on clearance. When I put them up on the towel bar I thought they were an improvement, but needed something.......
To the rescue .......my ribbon stash! I took some pieces of leftover cream ribbon and tied them back in the middle. I think it added just the right amount of pick-me-up that they needed and didn't cost me anything extra! And my husband likes them so much better than the flowers!
Tuesday, August 6, 2013
Monday, August 5, 2013
Recipe Monday - Congo Sqaures
Today's recipe reminds me of growing up and of a relative we had that we called "Red Headed" Cousin Evelyn. She had this bright red dyed hair and whenever she came to visit she always brought Congo Squares. They are so yummy and rich and similar to a chocolate chip cookie bar.
Ingredients Needed:
2 2/3 cup sifted flour 2 1/2 teaspoons baking powder
1/2 teaspoon salt 2/3 cup shortening
2 1/4 cup packed brown sugar 3 eggs
1 cup chopped walnuts 1 package chocolate chips
Melt the shortening in a saucepan over low heat stirring frequently.
Once melted add the brown sugar and stir until well mixed.
Allow to cool slightly, then add the eggs one at a time, beating well after each addition.
Then add the mixture to the dry ingredients and mix well.
Next, add the chopped walnuts and the chocolate chips mixing well.
Pour into a greased 13 x 9 x 2 baking pan.
Bake at 350 degrees for about 20-25 minutes until golden brown.
Remove from oven and let cool completely before cutting. Then enjoy!! And if there are any left store in an airtight container.
Ingredients Needed:
2 2/3 cup sifted flour 2 1/2 teaspoons baking powder
1/2 teaspoon salt 2/3 cup shortening
2 1/4 cup packed brown sugar 3 eggs
1 cup chopped walnuts 1 package chocolate chips
Preheat your oven to 350 degrees.
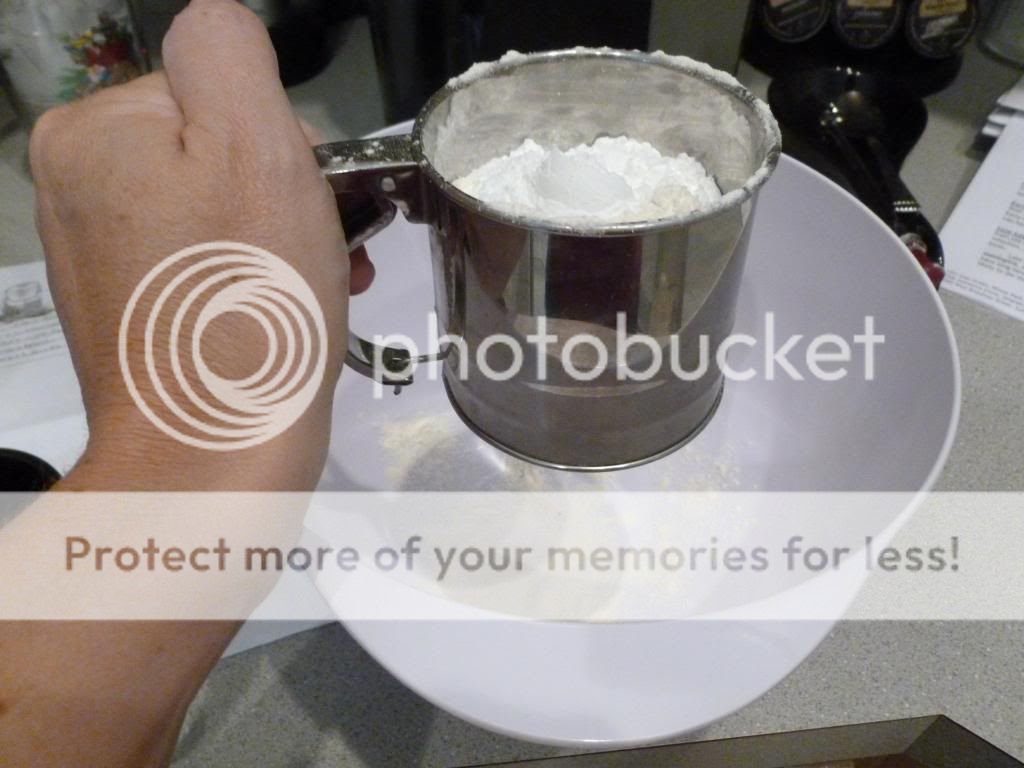
First, sift the flour, baking powder, and salt together in a bowl. Melt the shortening in a saucepan over low heat stirring frequently.
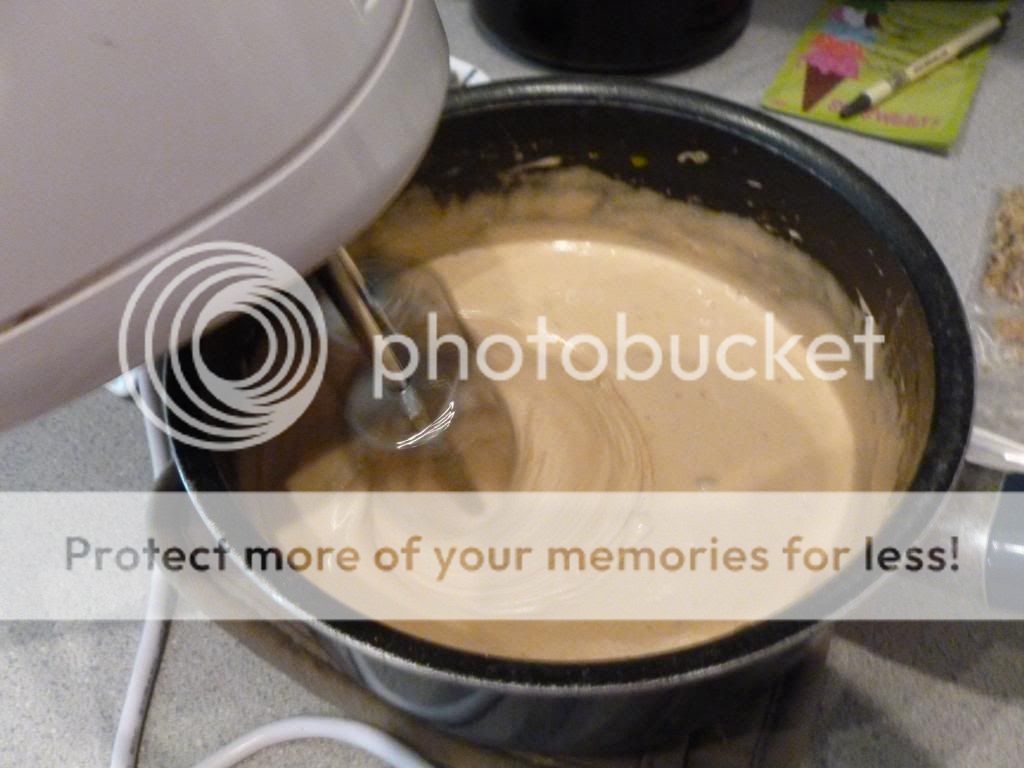
Once melted add the brown sugar and stir until well mixed.
Allow to cool slightly, then add the eggs one at a time, beating well after each addition.
Then add the mixture to the dry ingredients and mix well.
Next, add the chopped walnuts and the chocolate chips mixing well.
Pour into a greased 13 x 9 x 2 baking pan.
Bake at 350 degrees for about 20-25 minutes until golden brown.
Remove from oven and let cool completely before cutting. Then enjoy!! And if there are any left store in an airtight container.
Friday, August 2, 2013
Crafty Friday - Crayon Wreath
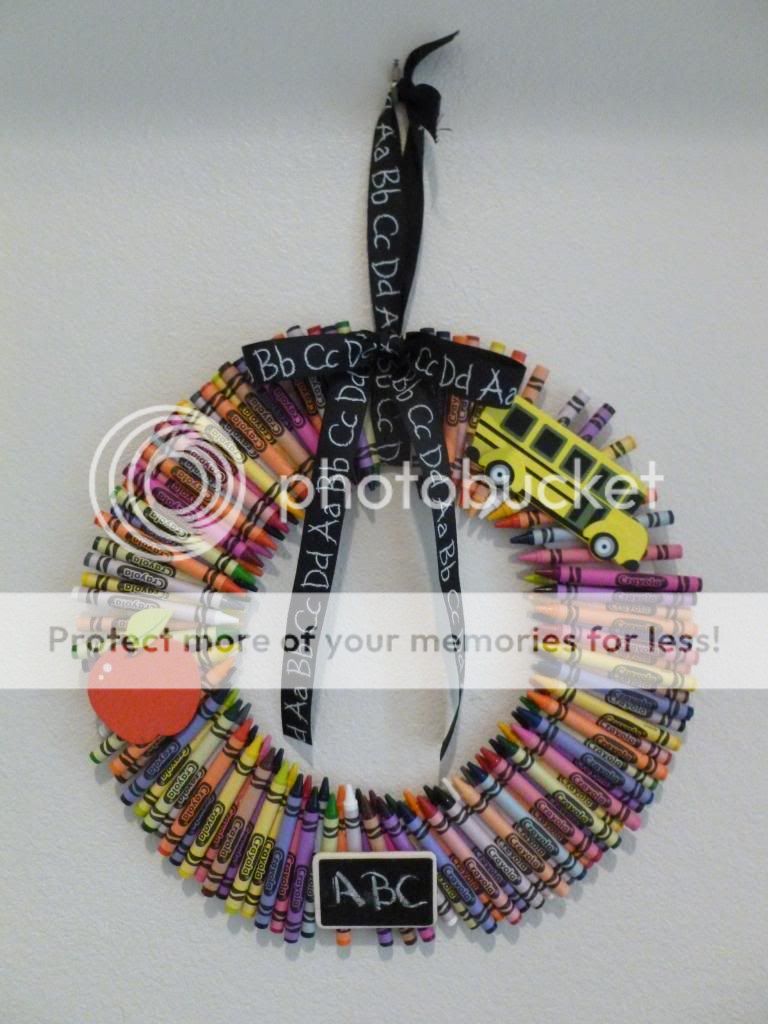
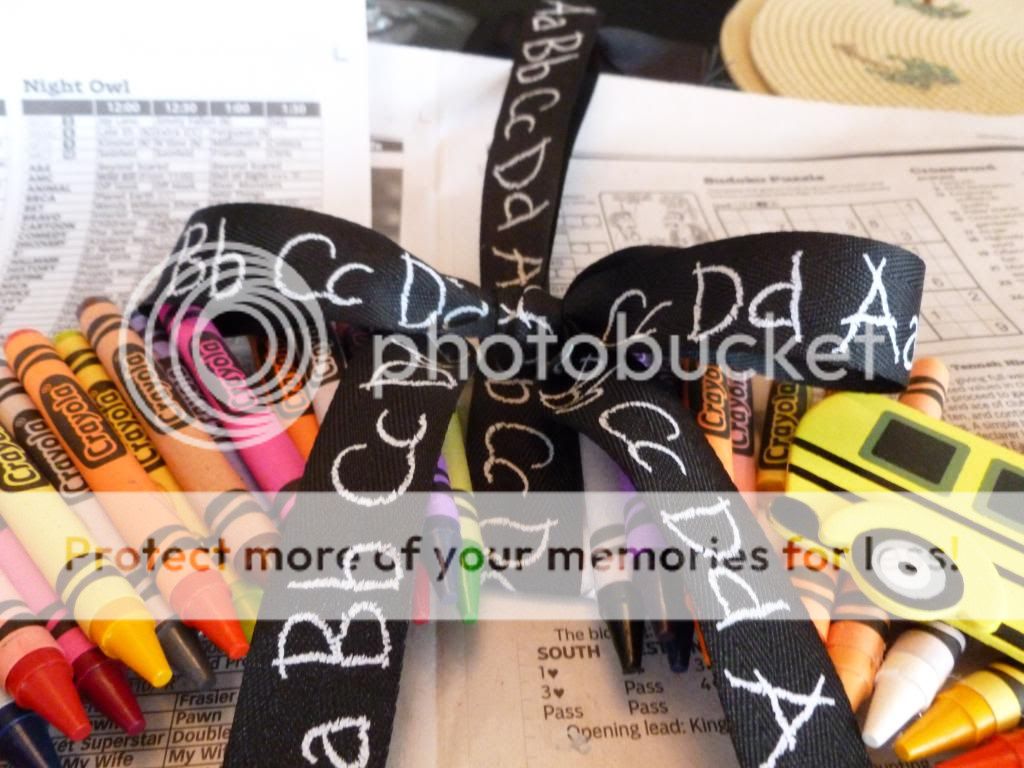
School time is coming quickly here in Florida. The kids go back in less than twenty days. My little guy is old enough this year for preschool and will be going 5 half days. (And no, I am so not ready for it!) We also have the new baby coming. I decided I wanted to make a big deal out of school for him and make it special. So I decided to change out my summer décor in the front alcove to a back-to-school theme. I saw the idea for a crayon wreath all over Pinterest. Here is my spin on it.
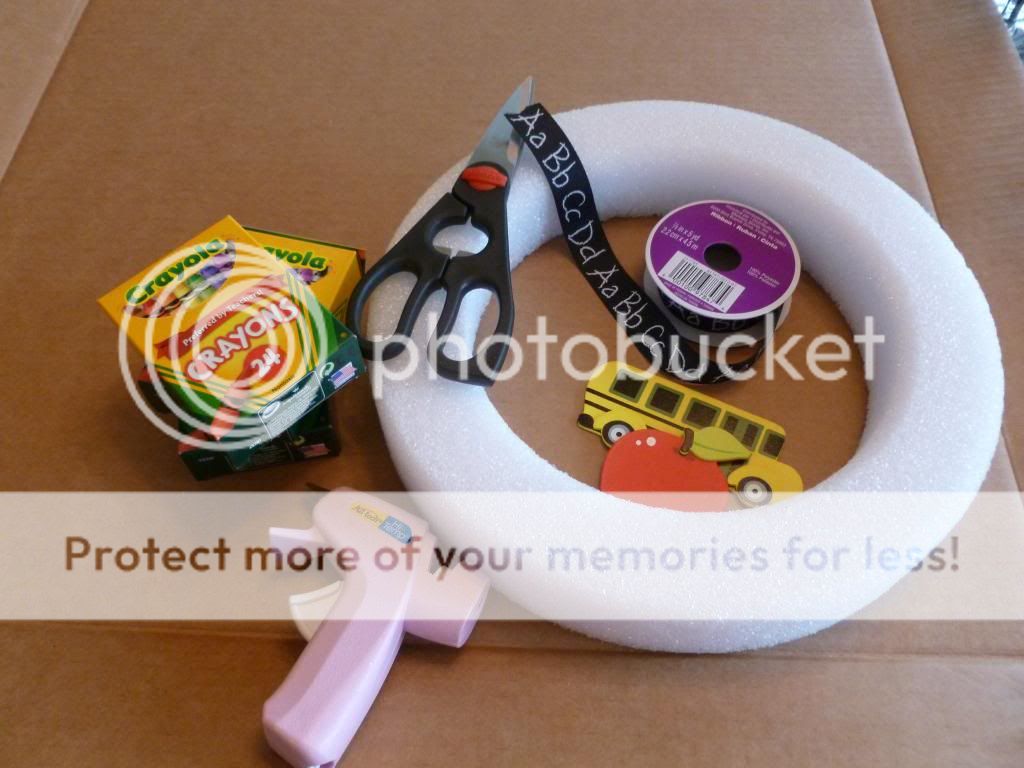
Supplies Needed:
Piece of cardboard
Wreath form or circles for tracing
Glue Gun
Scissors
3 boxes of 24 crayons (I got mine at Staples for $.25 each)
Ribbon for hanging the wreath
Wood School Theme pieces for accents
First, I used the wreath form to trace the inner ring and outer ring onto the cardboard. A lot of people on pinterest used embroidery rings as a base but I didn't want to spend any more money or make another trip to the store.
Next cut out the circles to form the base for the wreath.
Then I started gluing the crayons around the wreath. I made sure to run a strip of glue in the middle of the crayon on the back so that the Crayola logo was showing.
Keep gluing the crayons around the cardboard wreath form. I had no pattern to it - I just made sure no two colors were next to each other. And it is okay if there is spaces because we are going to fill them in.
Once I had gone all the way around the cardboard wreath, I went back and filled in the smaller spaces with another crayon glued on top to create a second layer.
Next, use your wood accent pieces to cover some of the larger spaces created when layering the crayons.
I used a wooden apple and bus purchased pre-painted at a local craft store for around $.59 each. Then I used a mini chalkboard I found in my craft stash and wrote "ABC" on it. In another larger space I strung some leftover "ABC" ribbon for hanging.
Once the ribbon is strung, tie in a double knot making a loop for hanging. Then create a bow around the loop to finish it off.
And that's all there is too it. I hung it in my alcove and will reveal the rest of the decorations in another post so stay tuned!!
Subscribe to:
Posts (Atom)