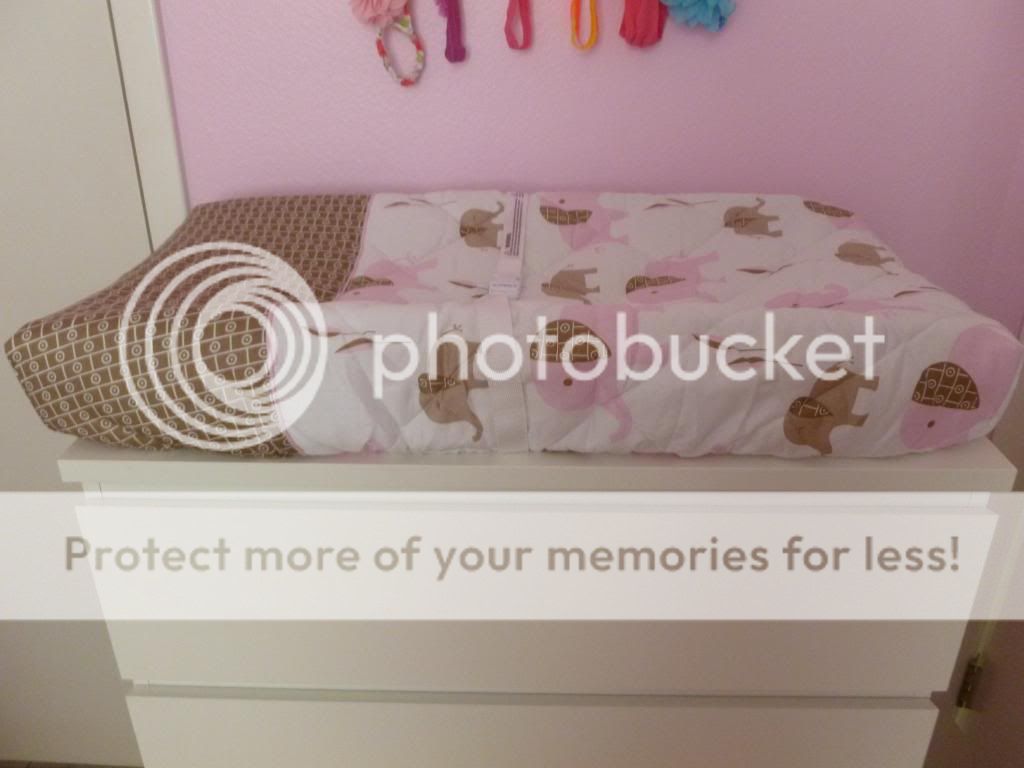
When we set up the baby's room we got a changing pad and placed it on top of the dresser in her room instead of buying a whole separate changing table. It has a safety strap which we bolted to the back of the dresser so it doesn't fall off but it still slipped around a bit. My solution......drawer liner!
Supplies Needed:
A roll of rubbery drawer/shelf liner
Scissors
All you need to do is measure the top of your dresser and cut a piece of the shelf liner to fit the top. I did make it a bit smaller than the top so no edges peeked out from under the changing pad.
Then place your changing pad back on top. We also made sure to reattach it to the back of the dresser. Now the pad stays in place and doesn't slide around.
My little girl has a lot of clothes already. I was hanging them in the closest was worried about how to organize them. I also wanted to make sure my husband knew where to pull from when dressing her. I saw a lot of size organizers for sale at the baby stores and couldn't justify the money, so I made my own and love them!!!
Supplies Needed:
Cardboard Shapes ( I found mine in the dollar bins at Michaels)
Assorted Scrapbook Paper
Coordinating Vinyl
Double Stick Tape or your favorite adhesive
Scissors
Pencil
Circle Shape for Tracing
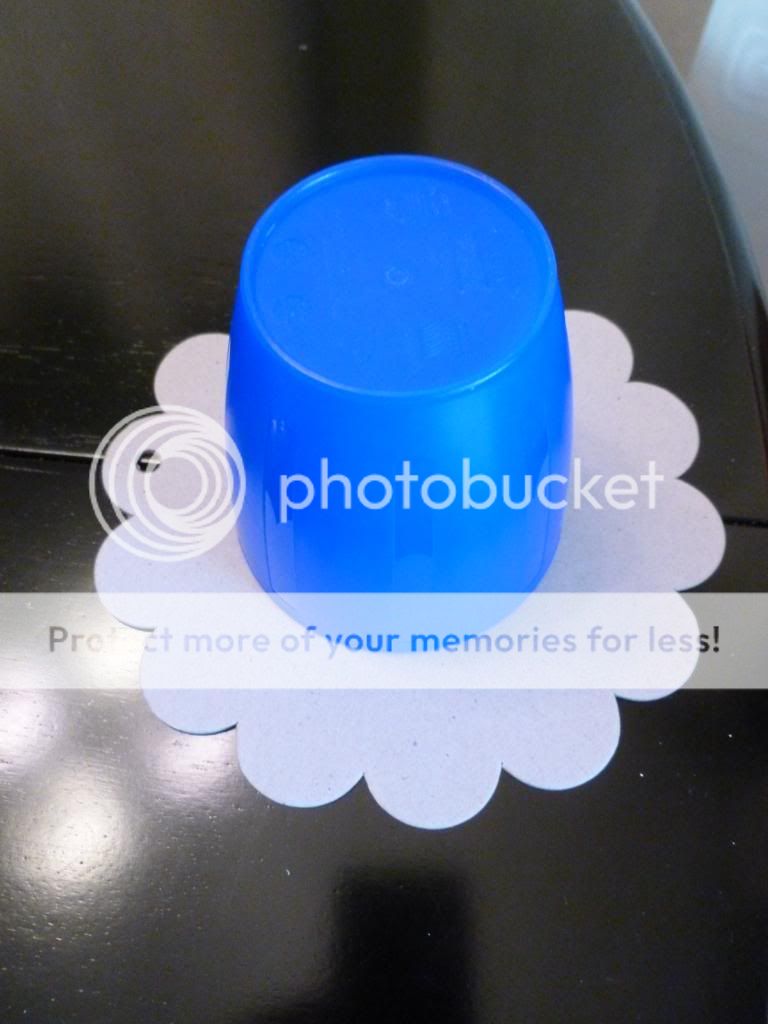
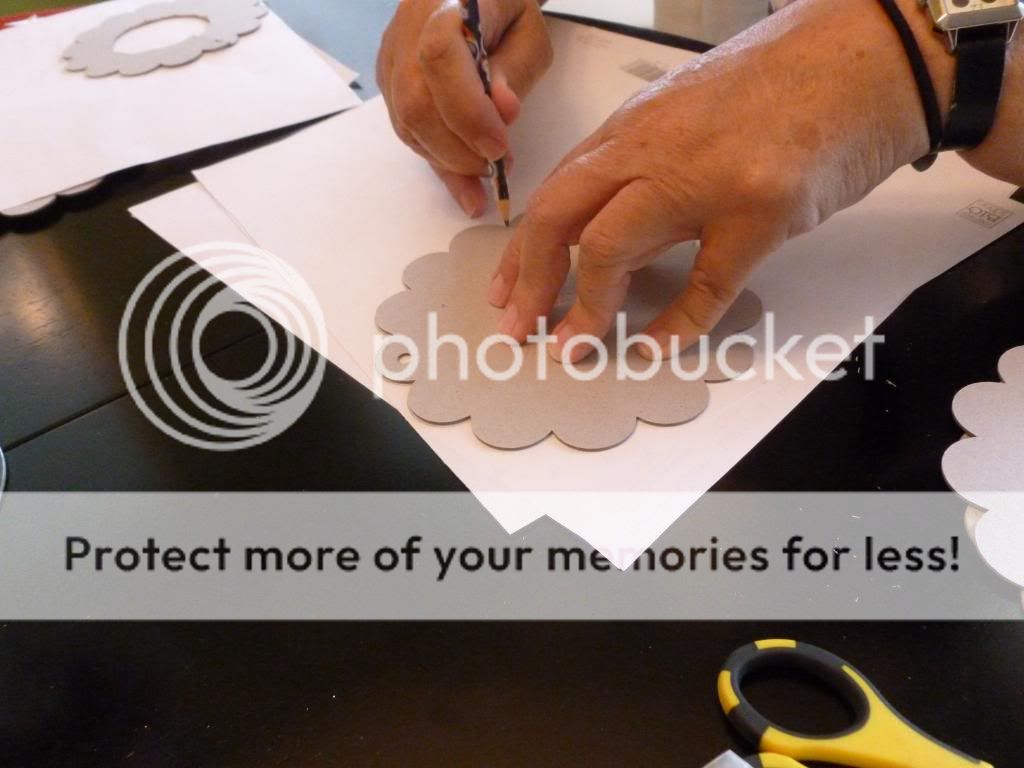
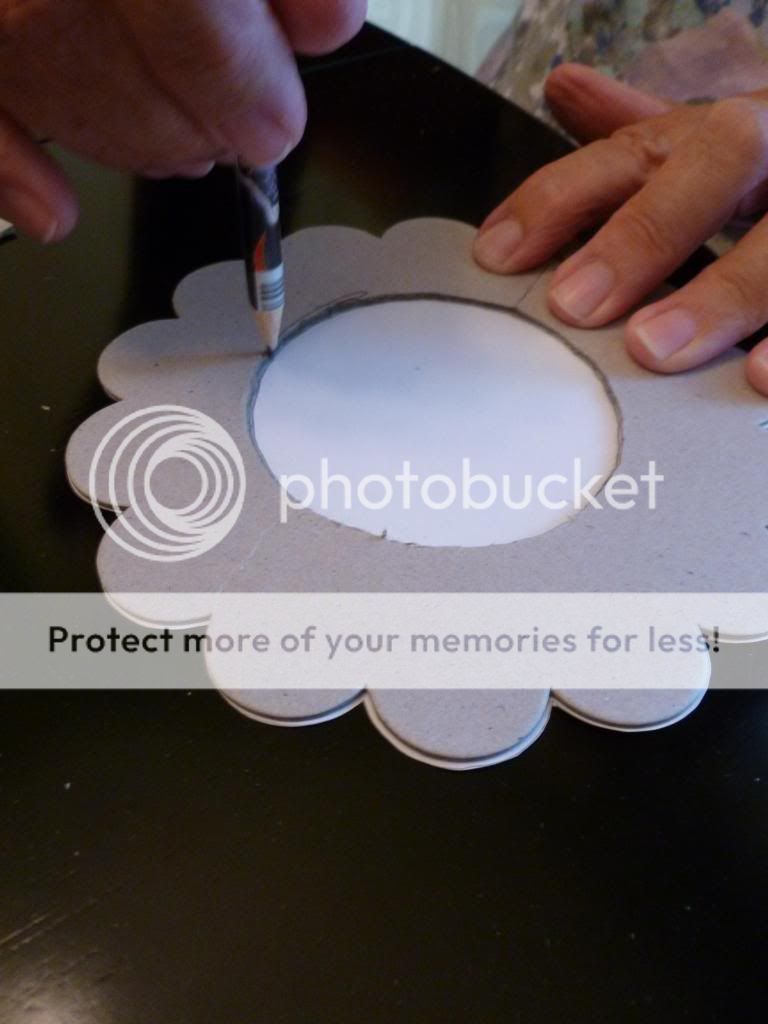
First, I took some flower shaped cardboard cutouts I found at the craft store and traced a circle in the center of them. You could also use regular cardboard and cut out circles or shapes of your choice. I used five of the flower shapes.
Next, I traced the flower shapes onto the backside of the scrapbook papers.
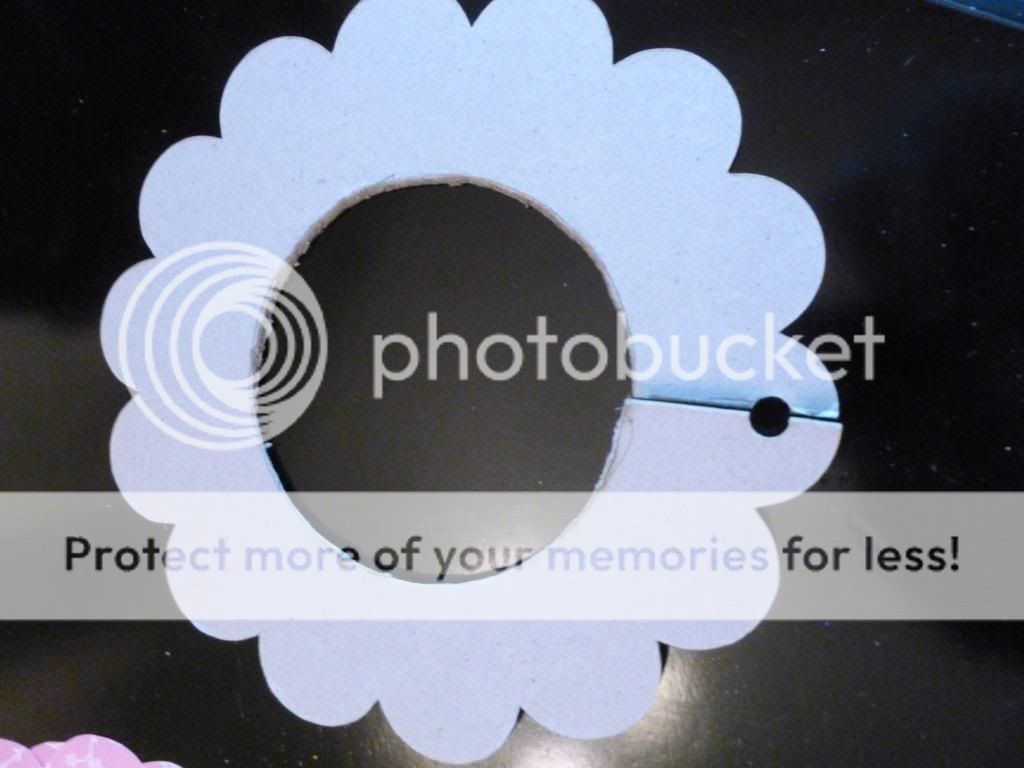
Then, take the cardboard flower shapes and cut out the circles you traced and also cut a slit from the outer edge to the inner circle. You do this so you can slide it over the closest rod.
Next, cut out the flower shapes you traced onto the scrapbook papers.
Then turn the paper over so you can use the white side and place the cardboard cut out on top of the paper. Trace the cutout circle on the paper.
And then cut out the inner circle from the scrapbook paper. Also, cut down from the edge to the top of the inner circle so there is a slit for sliding over the closest hanging rod.
Next, use your favorite adhesive to adhere the scrapbook paper to the cardboard flower.
I covered both sides of the cardboard flower with the same patterned scrapbook paper. Then, I used my cutting machine to make numbers out of coordinating gray vinyl for the following sizes: 0-3 months, 3-6, 6-9, 9-12, 12 - . You could also use scrapbook letters from the craft store already made.
Then adhere the numbers to the paper covered flower cutouts. I put mine on the left hand side.
Finally, hang the cutouts on your closest rod.
Now, hopefully my little one will wear everything before she outgrows them and I will stay organized!!! (And hubby won't try putting something on her that's too big!)
Having a little baby girl is exciting but has been different than my boys in some ways. The first difference is the clothes. There are so many adorable outfits and they all have little bloomers or pants.
When I washed the clothes I started putting them away in the dresser and realized it wasn't going to work. My wonderful husband would go to help dress her and she would end up wearing bloomers that didn't match the dress or pants and a top that didn't match. What to do??? My solution......binder clips!!!!!
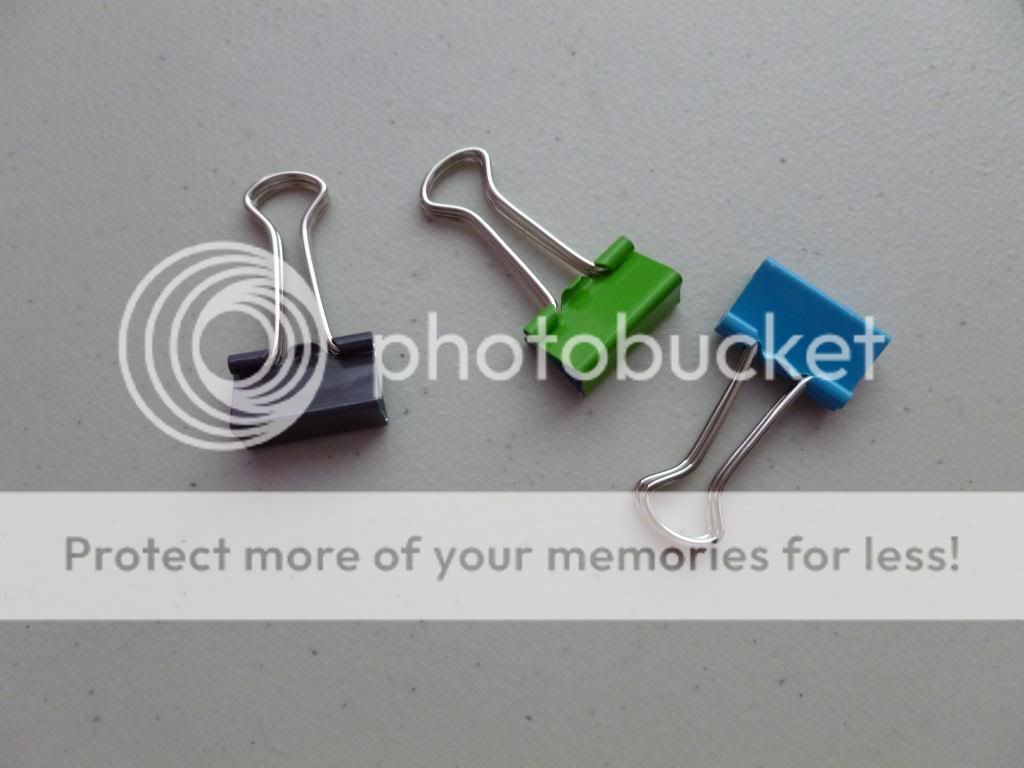
I had gone to the store and couldn't believe the price of hangers with clips attached!! Then I looked into clothespins and still wasn't happy. Then I remembered all the binder clips I had at home leftover from my office days and decided to give it a try. It works so great!
First, I took the bloomers, pants, or skirts and laid them over the hanger and attached with a clip. On the thinner clothes I used smaller clips and on the thicker items I used larger clips.
Then I just put the matching top or dress over it and hung in the closest.
Perfect solution and now when my wonderful hubby helps dress her she will match!!! Check back this week for how to make some cute clothes sizing organizers!!