I have this wall in my entryway that someday, in my spare time, I plan on putting family photos up on. But for now it is blank and empty.

At Christmas time I hung a red ribbon with command strips and hung my Christmas cards there. So, then I decided for the different holidays and seasons I would hang banners from it.
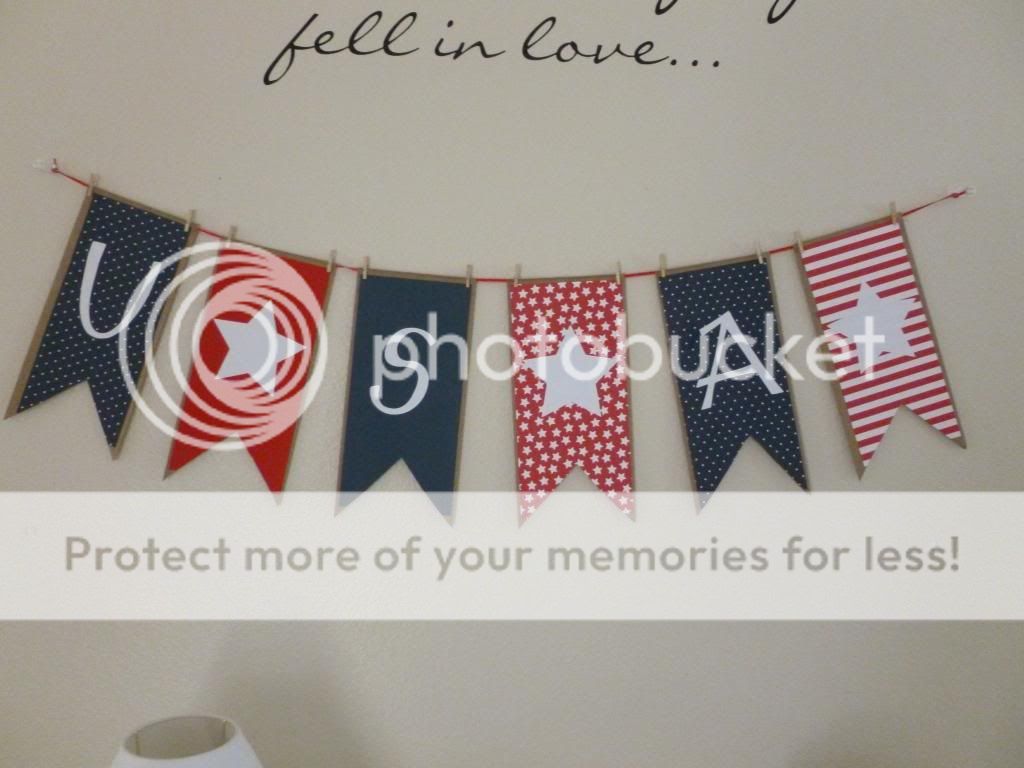
Today I am going to show you how I made one for the 4th of July.
Materials Needed:
6 paper lunch sacks Mini Clothespins
Coordinating scrapbook paper Ruler
Paper Trimmer Scissors
Double Stick Tape

First, I measured the paper bags and trimmed my base scrapbook papers to between an 1/8 " and 1/4" shorter than the paper bags on all edges. Then, I adhered the trimmed scrapbook paper to the paper lunch bags with double stick tape.

Next, I eyeballed where I wanted to make a V shape at the bottom of the paper lunch bag through both the bag and paper and made my cuts. You could measure it and then cut it, but I was being lazy.

Next, I used my Silhouette to cut the letters U, S and A and some stars out of white scrapbook paper. You could also use a stencil or free hand it. Then, with the double stick tape I adhered them to the bags.

Finally, I took mini clothespins and hung them on the ribbon.
Festive, quick, and easy!
Thanks for joining me today and check back for more of my 4th of July decorations!