We are getting ready for back to school in a few weeks so my little guy and I were sorting through our school supplies to see what we had. And what we had was a big mess of open pen packages! I was trying to think of what to put them all in when I remembered I had a stash of Crystal Light Plastic containers in the garage. (I never throw stuff out)
First, I took four of the containers and just slid the plastic wrapper off of them.
Then I had my little guy sort them by color. The pens fit inside perfectly and the lids went back on. I was going to label them but since they are clear I just lined them up inside the desk drawer and we were done. And even better, we realized we don't need to buy any pens this year!
Tuesday, July 30, 2013
Monday, July 29, 2013
Recipe Monday - Shrimp Casserole
I love seafood and could eat it everyday! Here is an easy recipe for shrimp - just a warning - it is not low calorie!
Ingredients Needed:
1 lb. deveined and cleaned shrimp
1 1/2 sleeves Ritz Crackers
1 stick of butter or margarine
Garlic Powder
Optional: Walnuts
White Wine
First, peel the shrimp and take off the tails. I always buy deveined shrimp to make it easier and quicker.
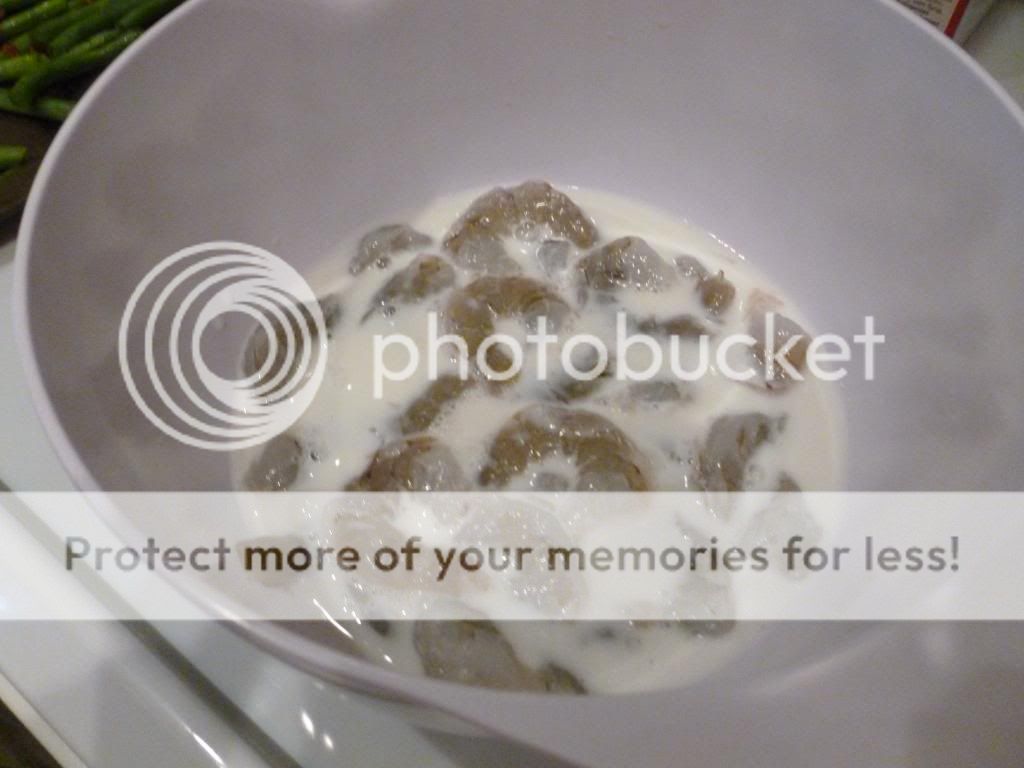
Then I prefer to soak my shrimp in a bowl of milk for about a half hour. I do this to take some of the "fishy" smell and taste away.
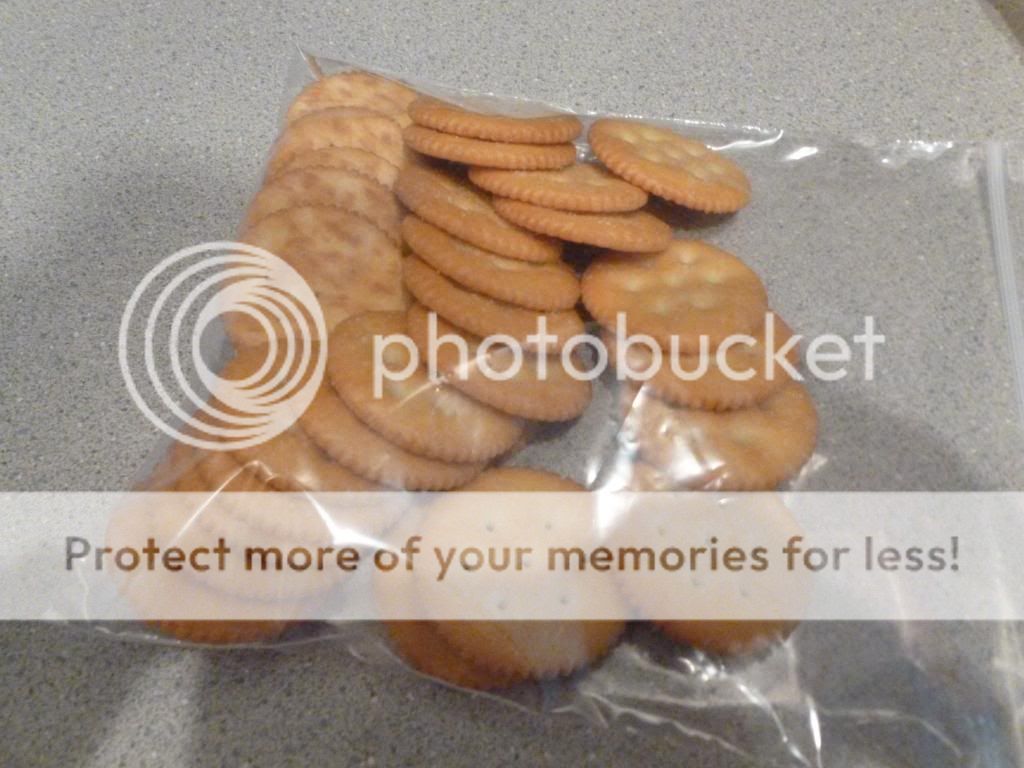
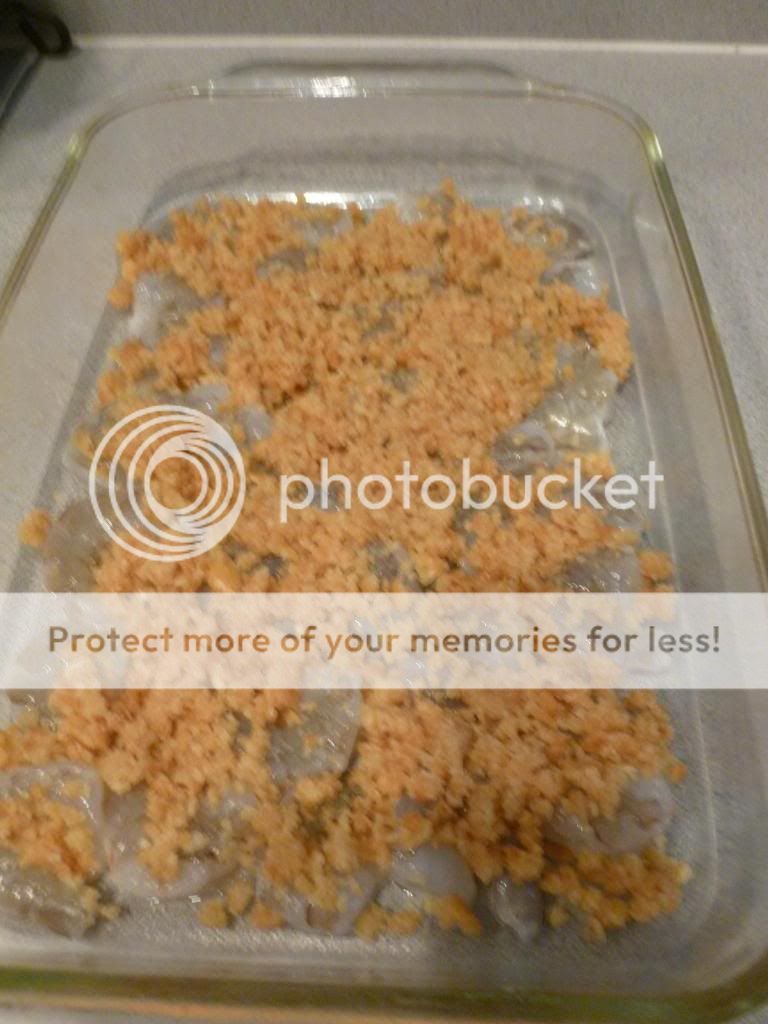
Preheat your oven to 350 degrees. Then drain, rinse, and pat dry the shrimp. Next, take the shrimp and lay in a single layer in a greased 13 x 9 x 2 pan. Put the Ritz crackers in a plastic sandwich bag and crush into crumbs, or you could use a food processor.
Melt the butter or margarine in a bowl in the microwave. Then add the crushed crackers to the butter. At this point you could also add the optional ingredients of crushed walnuts and white wine. If adding either ingredient it is all a matter of taste, I usually use a 1/4 cup of each. Then mix all ingredients together.
Next, spoon your mixture over the shrimp. Then sprinkle some garlic powder over the top of the mixture. I usually sprinkle about 1/2 teaspoon, again it is all personal taste.
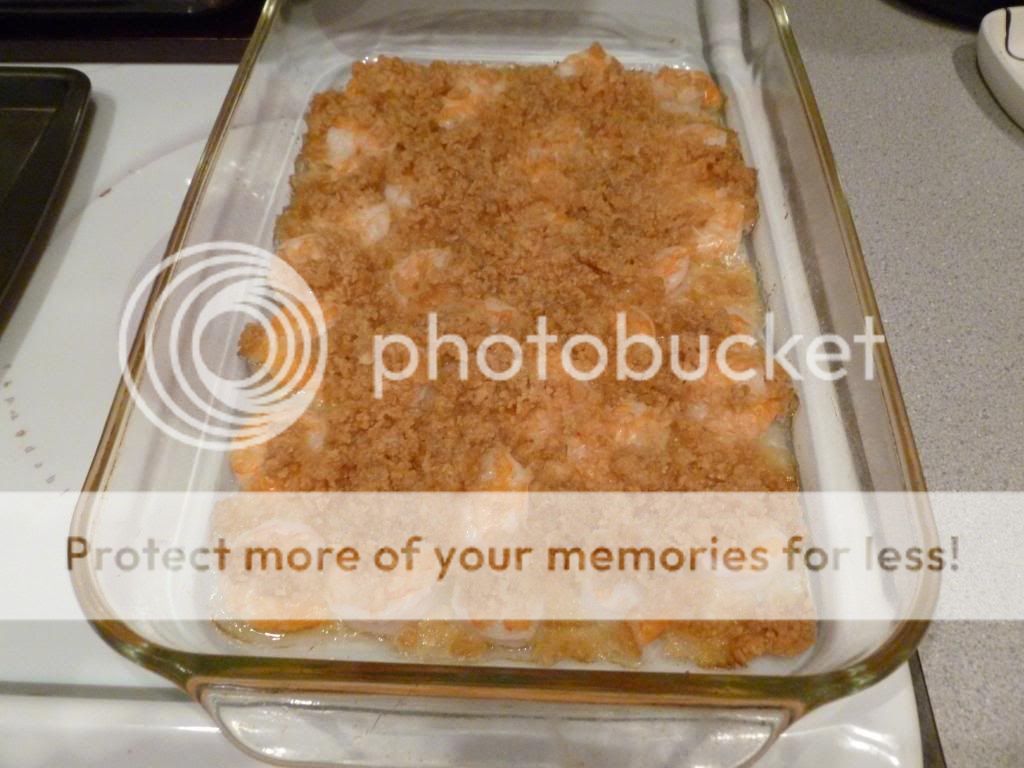
Bake uncovered in the preheated oven for 20-30 minutes until topping is golden brown and shrimp are pink. We usually have it with a salad, rice pilaf, and a glass of wine of course! Enjoy!!!
Friday, July 26, 2013
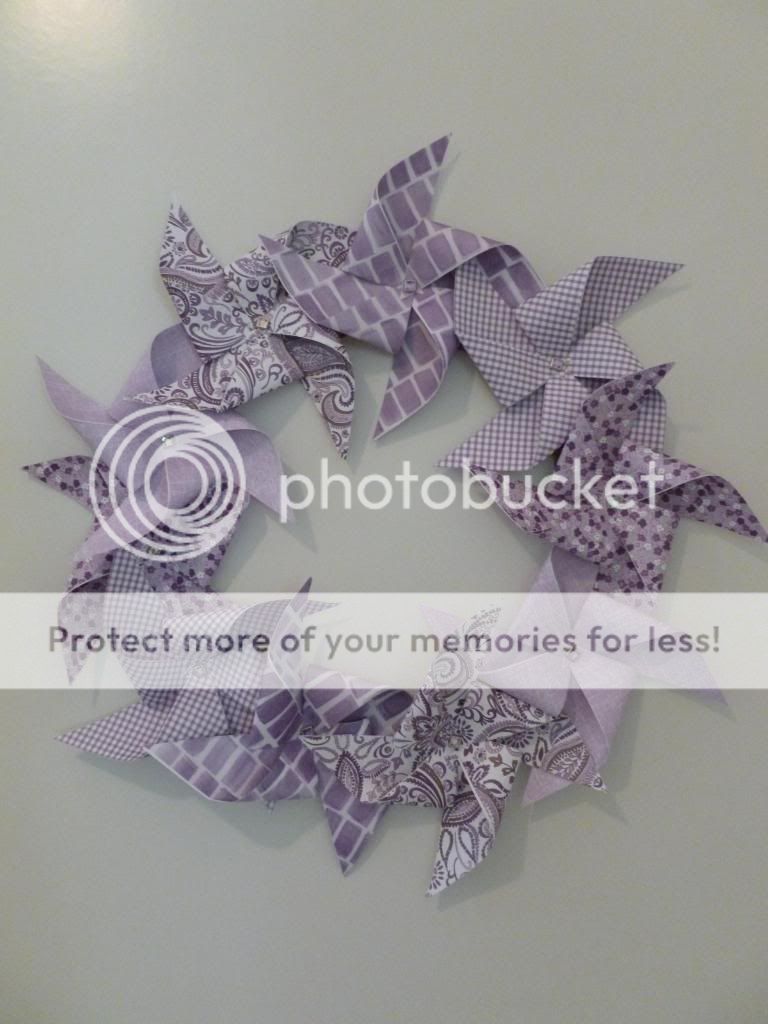
Crafty Friday - Pinwheel Wreath
My bedroom door has had a silver tissue paper wreath on it since Christmas. I finally decided it was time to change it. Here is how to make a pinwheel wreath. I chose purple hues, but you could do this technique for any holiday or décor!
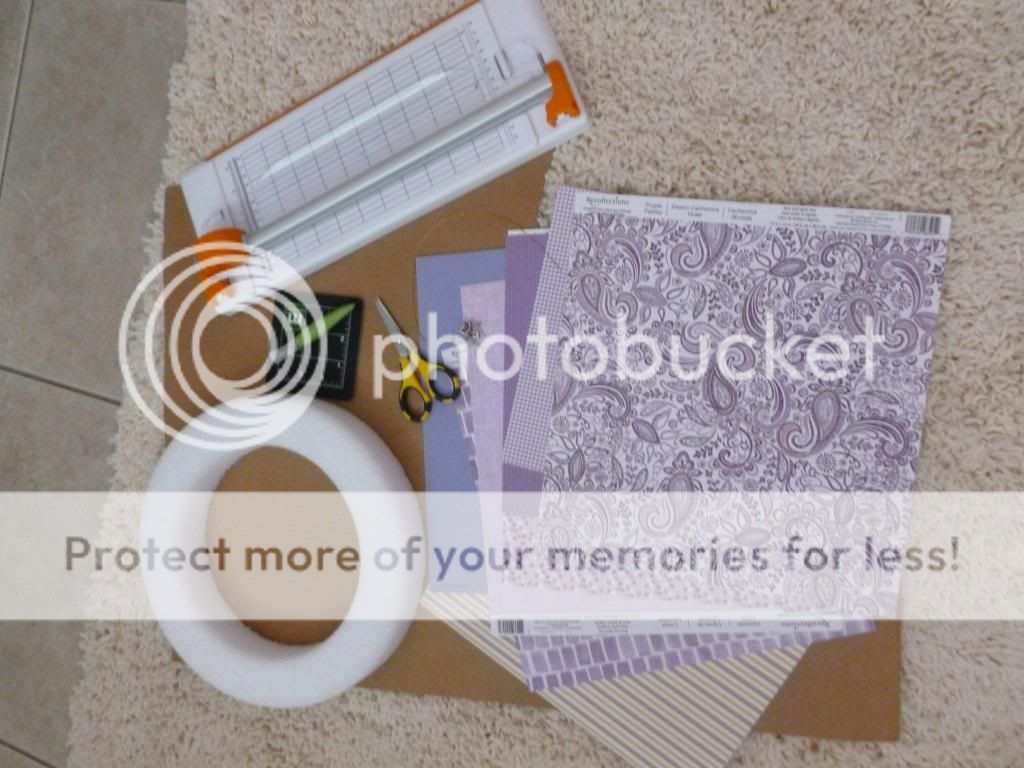
Supplies Needed:
Cardboard
Wreath or Circle Shape for Tracing
12 sheets of scrapbook paper (6 if double sided)
Paper Cutter
Double Sided Tape
Awl ( or thumbtack)
Brads
Scissors
Piece of String or Ribbon
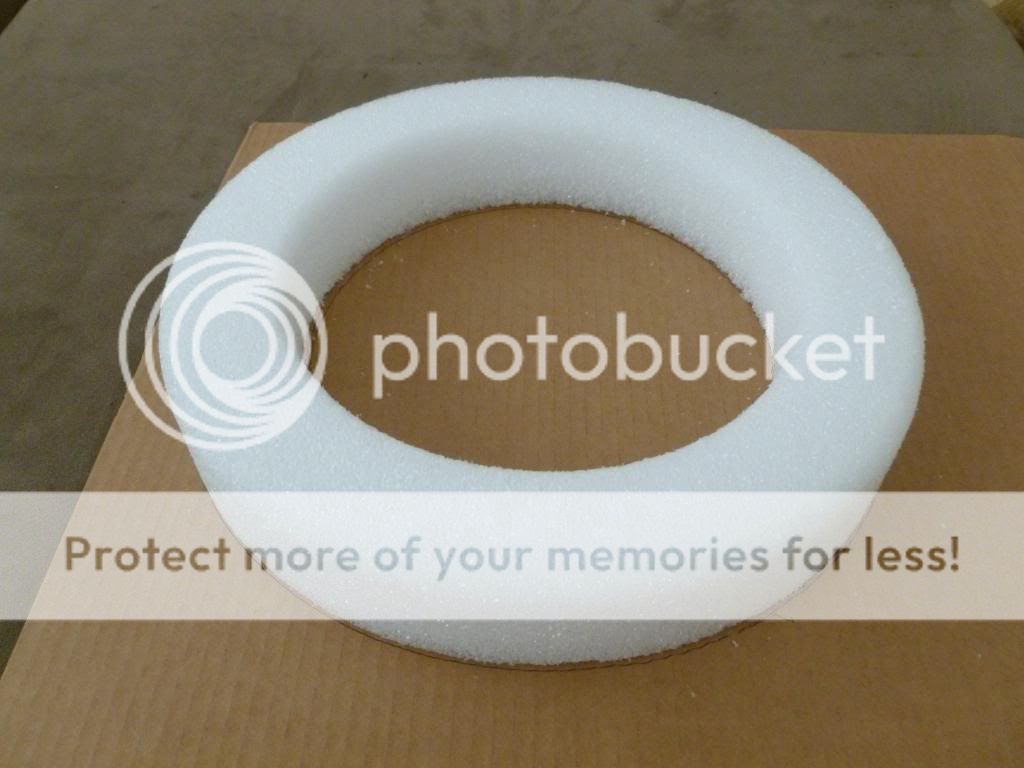
First, take your wreath or circle shapes and trace onto your cardboard piece. I used a 12" wreath form and traced the inner and outer rings.
Once you have traced the rings cut out the circles leaving you with a wreath form out of cardboard.
Next I selected colors and patterns from my scrapbook paper supplies. Usually I use double sided paper but didn't have any that I wanted to use. In this case, you can take single sided sheets and tape them together to make patterns on both sides. I do this so once the pinwheel is formed there is no white paper showing. Then, take your sheets and cut out 12 squares measuring 5 inches by 5 inches.
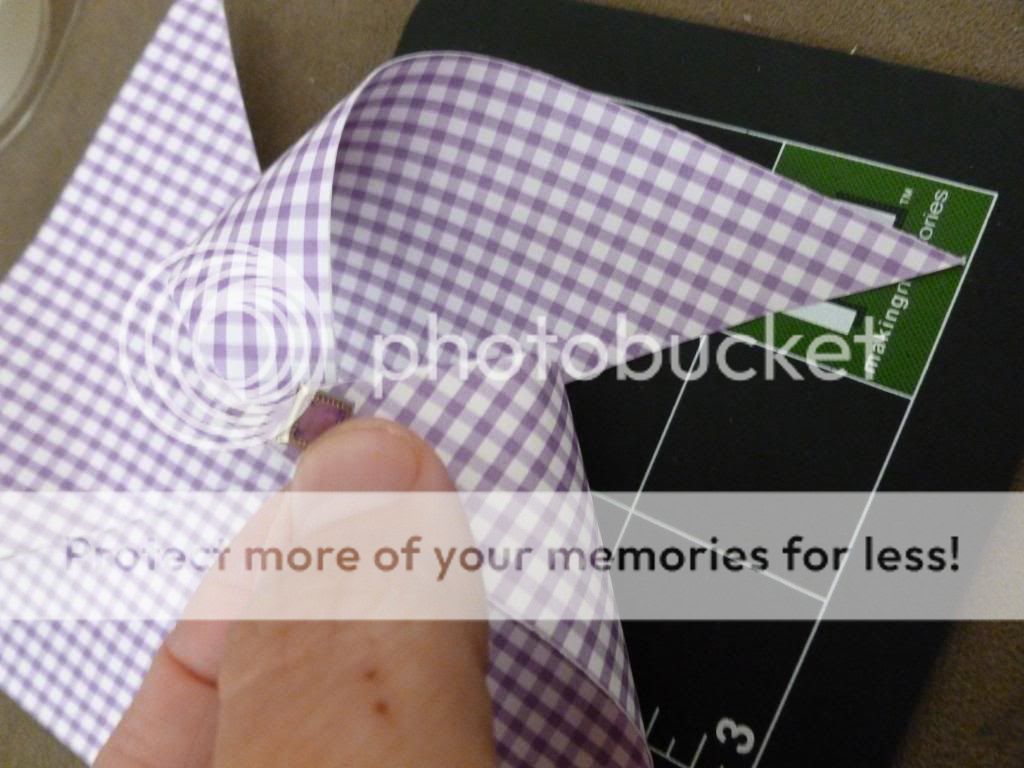
Once you have your squares cut, fold them into triangles one way and then unfold and fold into a triangle the other way. This leaves a scored square that looks like the below picture.
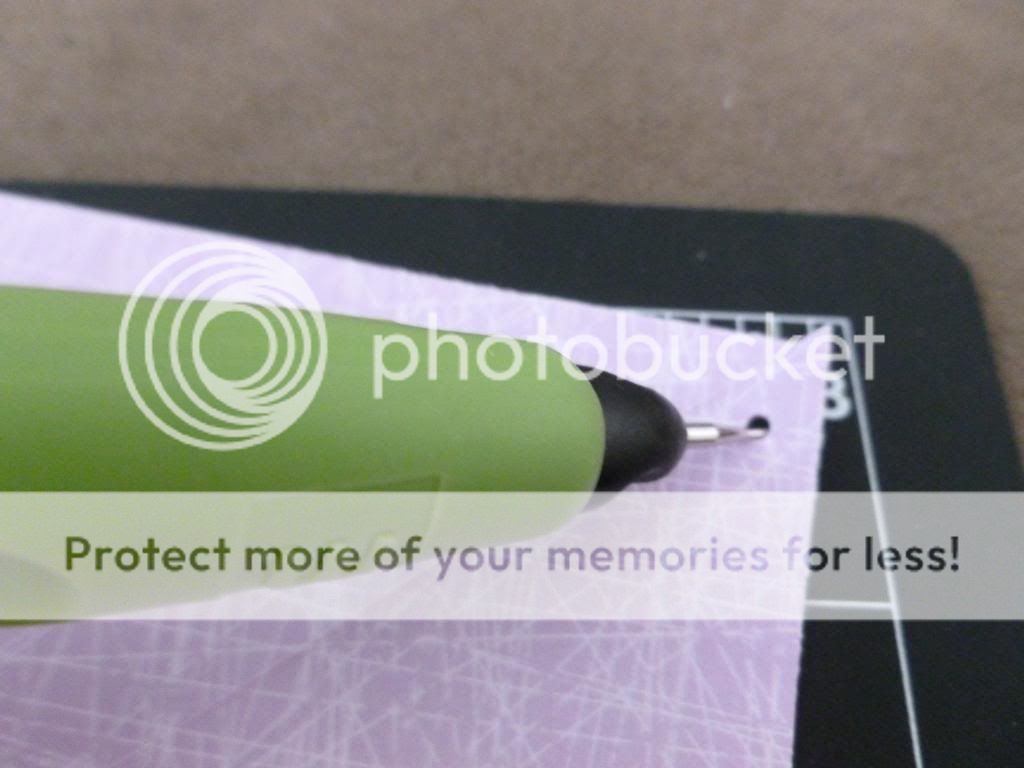
Then use scissors to cut along the score lines about 3/4 of the way to the center. If you cut too far, the pinwheels will fall apart. Use an awl (or thumbtack) and make holes in the alternating corners of the cut triangles.
Next, make a hole in the center of the square.
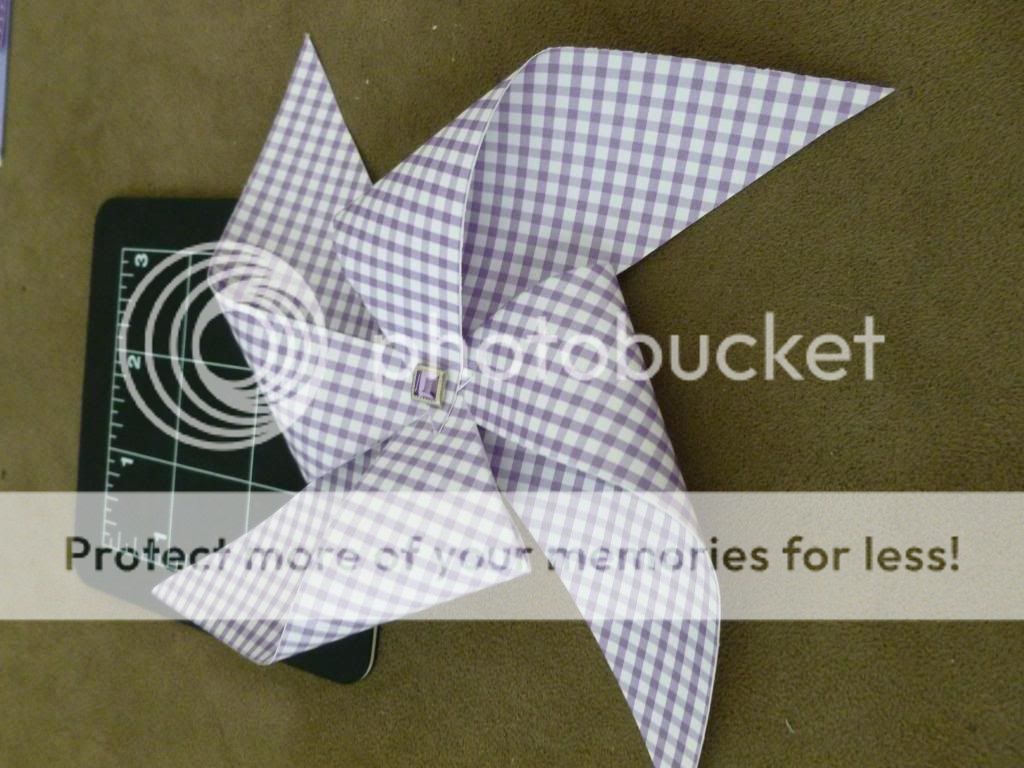
Take the alternating corners and fold them up towards the center and secure them together with a brad.
Repeat until you have between 10 and 12 pinwheels.
Next, arrange them on the cardboard to figure out fit and pattern. I like to overlap them to fill in any bare cardboard. You can always paint the cardboard or cover with ribbon if the pinwheels don't cover the cardboard to your liking.
Once you know where you would like each pinwheel placed, poke a hole into the cardboard and then secure it with the existing brad, or if your cardboard is too thick you could stick them on with glue dots. Next, I tied a piece of gold ribbon around the cardboard to make a hanger.
If you have a brown spot showing you can swivel the pinwheels to fill in the spaces. And you are done! Easy and very versatile!
Tuesday, July 23, 2013
Tip Tuesday - Pool Noodle Bumpers
My son plays superheroes and runs around my house like he is flying and chasing bad guys. Let's just say he has my coordination skills and that - coupled with not paying attention to where he runs - has led to some accidents with the kitchen counters. I wanted to protect him but didn't want to pay for bumpers from a store. To the rescue - pool noodles!
This is the edge my little Batman has hit his face on many times. I took a piece of pool noodle and with a serrated knife cut it to the length I needed.
Then I took and sliced it lengthwise down the whole piece and spread it apart.
Finally, I just slid it over the edge of the counter. It keeps his little face safe and can be removed easily and only cost $1.00. You could use these on window sills, coffee table edges, and fireplaces to keep new crawlers and walkers safe too!
Monday, July 22, 2013
Recipe Monday - Oven Roasted Green Beans
Today's Recipe Monday is an easy side dish -oven roasted green beans. And it has bacon - which makes everything better!
Ingredients Needed:
1 to 1 1/2 pounds green beans
2 tbsps. olive oil
1 tsp. kosher salt
1/2 tsp. black pepper
1 tsp. garlic powder
6 slices cooked bacon crumbled
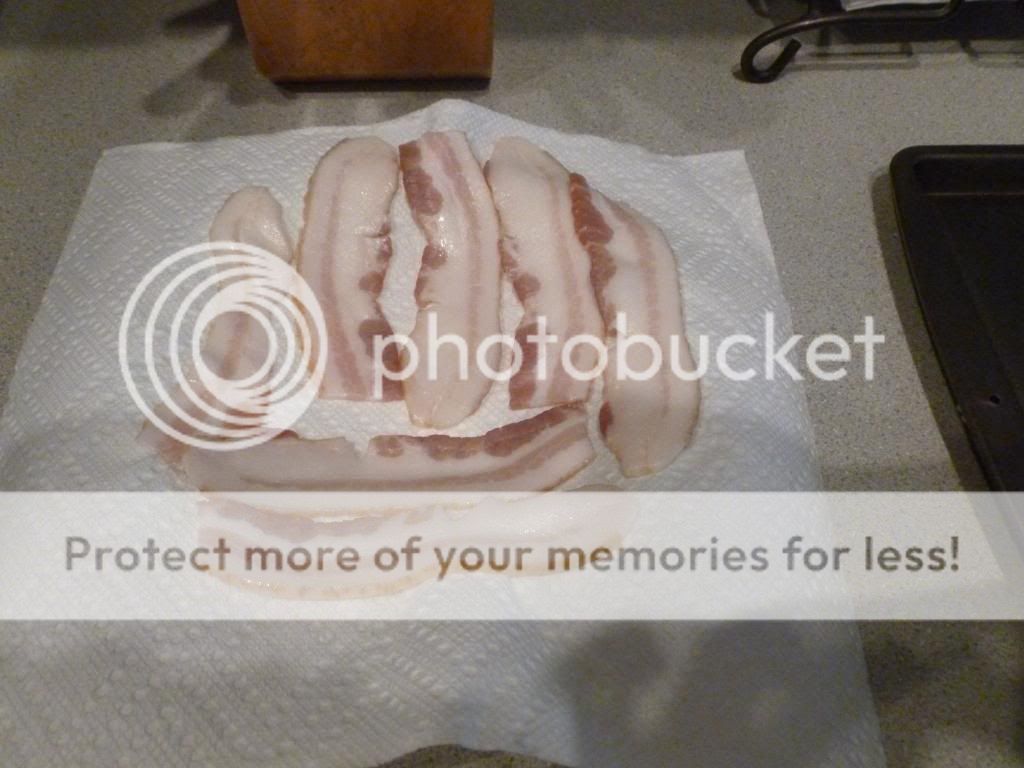
First, preheat your oven to 425 degrees. Then, cook your slices or bacon. You can you used precooked if desired. I usually cook my bacon in the microwave. I place the slices on a paper plate lined with paper towels. Then place another paper towel on top of the slices and cook in microwave for about 2 to 3 minutes. It makes the bacon crispy and has less mess and once the slices are cooked I can just throw all the paper away and don't have to wash dishes!
Next, trim the ends of your beans and lay in a single layer on a cookie sheet.
Then, add all the ingredients on top of the green beans right on the cookie sheet. Then stir it all around until well mixed. After mixing, make sure all the green beans are in a single layer for more even cooking.
Finally, cook in the oven for about 12 to 15 minutes stirring once halfway through cook time. The green beans come out flavorful and not too crunchy and not too soggy--a perfect side dish!
Friday, July 19, 2013
Crafty Friday - Summer Banner
My entryway needed a Summer banner to fill the big white space after the 4th of July decorations were taken down. I was torn as to what shape or style to do. I decided to do palm trees to match the overall theme of my house.
Supplies Needed:
Green and Brown Cardstock
Black Vinyl
Double Stick Tape
Mini Clothespins
First, I downloaded a palm tree pattern on my Silhouette machine, but you could also hand draw a stencil or Google a printable palm tree pattern to print and use. I ungrouped the pattern and cut out separately 6 tops and bottoms of the trees. I made the tops a shade of green and the bottoms a dark brown.
Next, I used some double stick tape to attach the palm tops to the trunks.
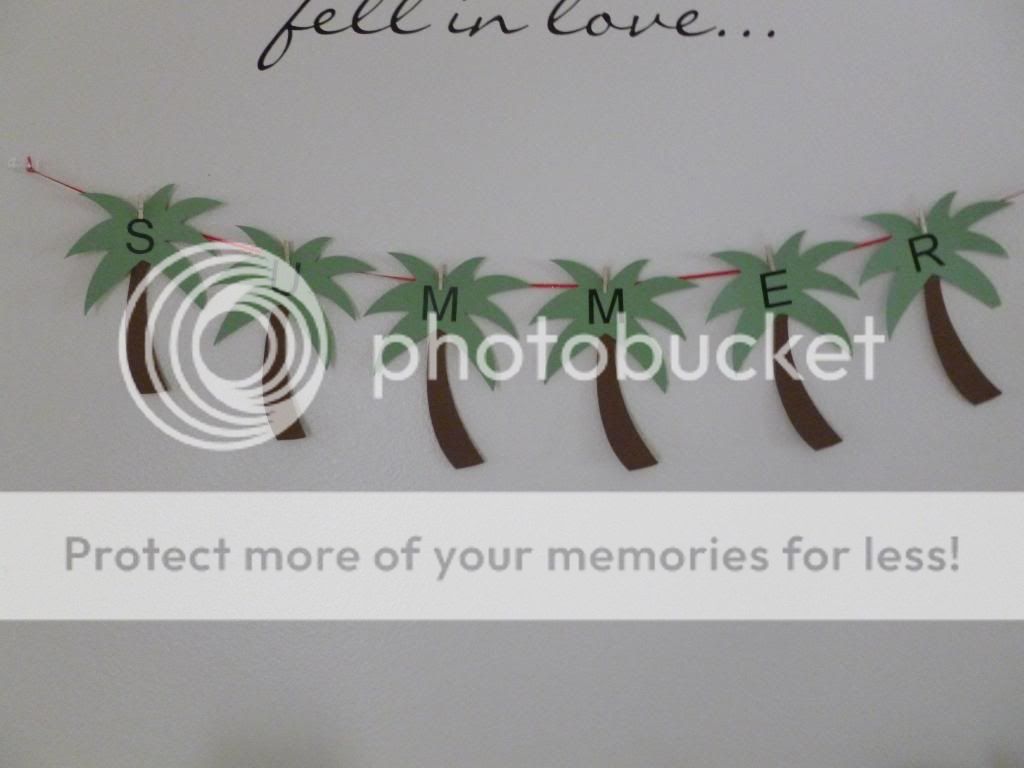
I printed out the letters to spell "SUMMER" in black vinyl . I used my Silhouette machine, but you could free hand them or use scrapbooking letters from your local craft store. I put one letter on each of the palm tree leaves.
Finally, I attached my palm trees to my hanging ribbon in the entryway using mini clothespins.
I love how it brightened up the blank wall for the rest of the season!
Tuesday, July 16, 2013
Tip Tuesday - No Slip Cushions
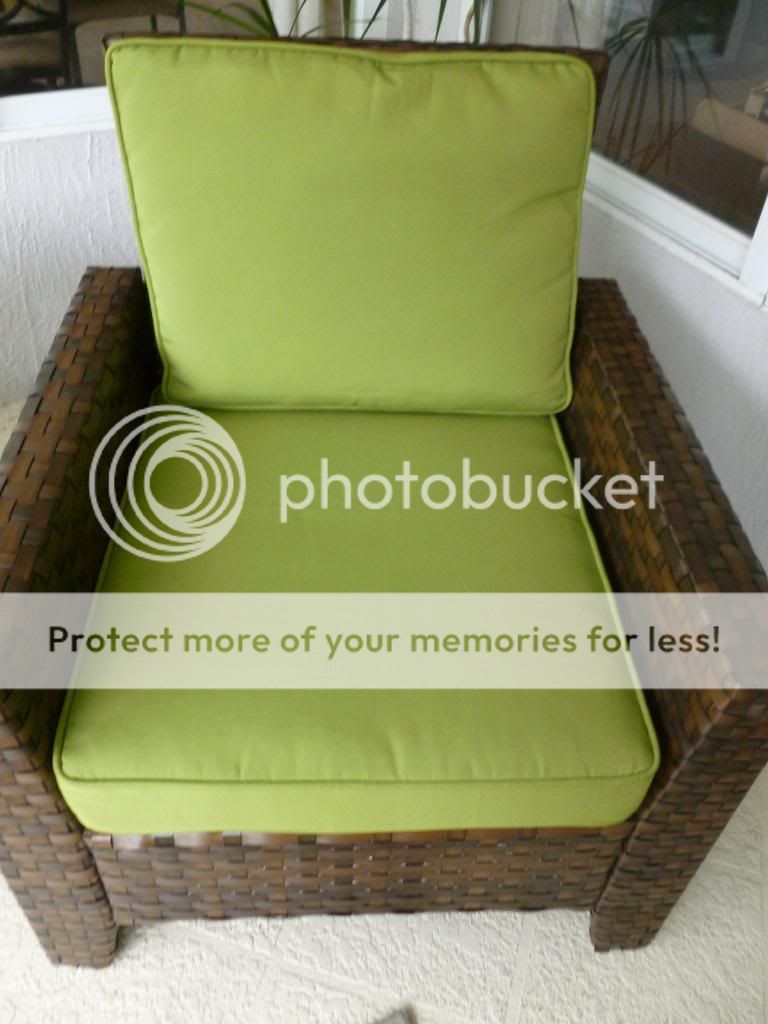
Living in Florida we spend a lot of time on our patio. We have a seating area with two chairs and a loveseat out there. It is very comfy but with two boys it seemed like the cushions were always slipping off and I was constantly fixing them. Here is an easy way to keep them in place.
Supplies Needed:
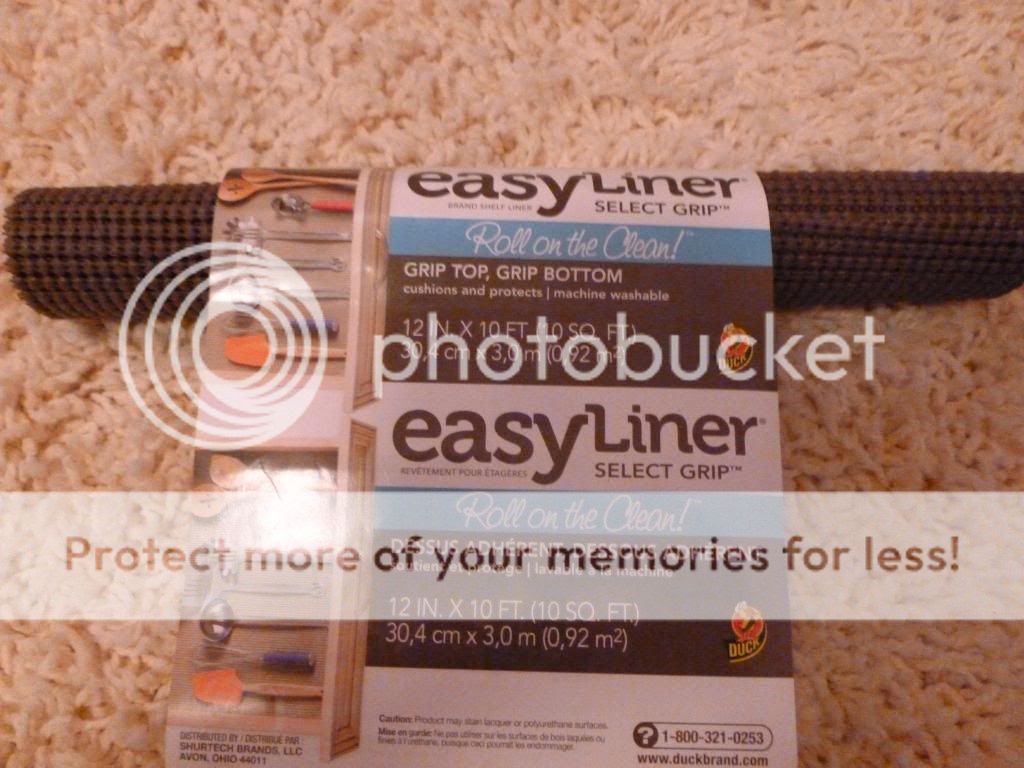
1 roll of rubbery shelf liner (from Walmart)
Scissors
First, remove the cushions leaving just the chair base. Next, measure and cut a piece of liner to fit the bottom of the chair. I ended up having to cut two separate pieces to fit my base seat.
Next, repeat for all chairs and loveseats. Then, replace the cushions.
Now relax and spend less time fixing slipping and sliding cushions!
Monday, July 15, 2013
Recipe Monday - Cheesy Garlic Biscuits
My boys love bread and this recipe is one of their favorites. It is a super easy recipe from Bisquick and reminds us of the biscuits from a local chain restaurant.
Ingredients Needed:
2 Cups Bisquick
2/3 cup milk
1/2 cup shredded cheddar cheese
2 tbsp. margarine
1/8 tsp. garlic powder
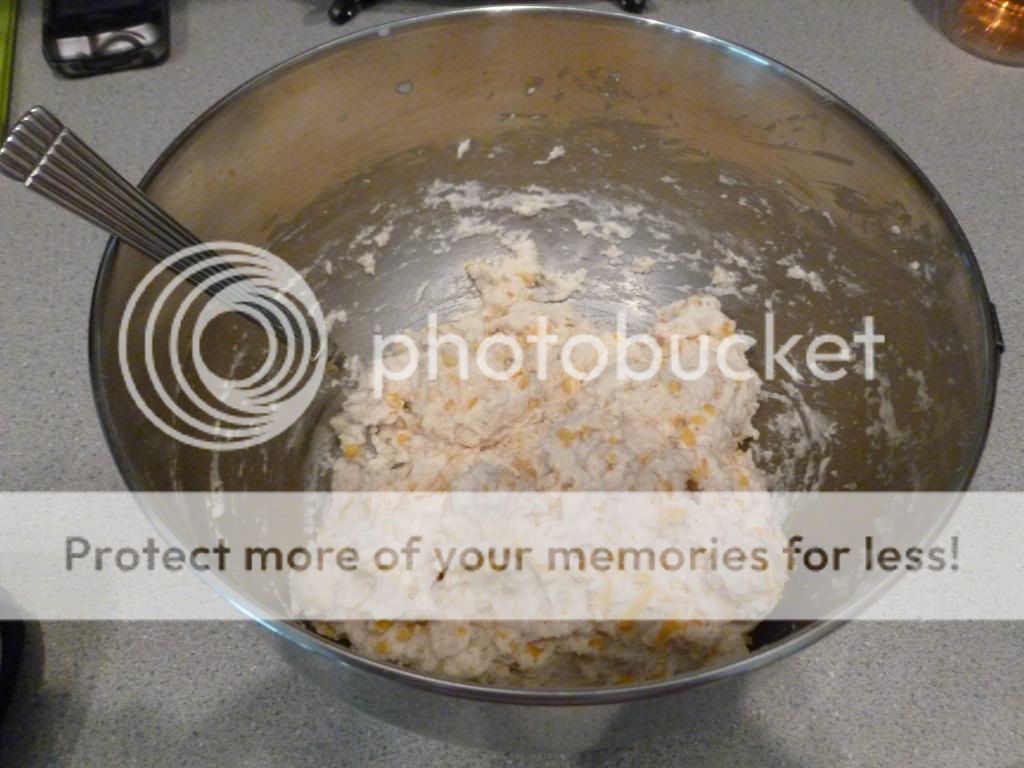
Preheat your oven to 450 degrees. First, stir the Bisquick, milk, and cheese in a bowl until a soft dough forms. My boys like a lot of cheese so I usually increase the cheese to 3/4 cup.
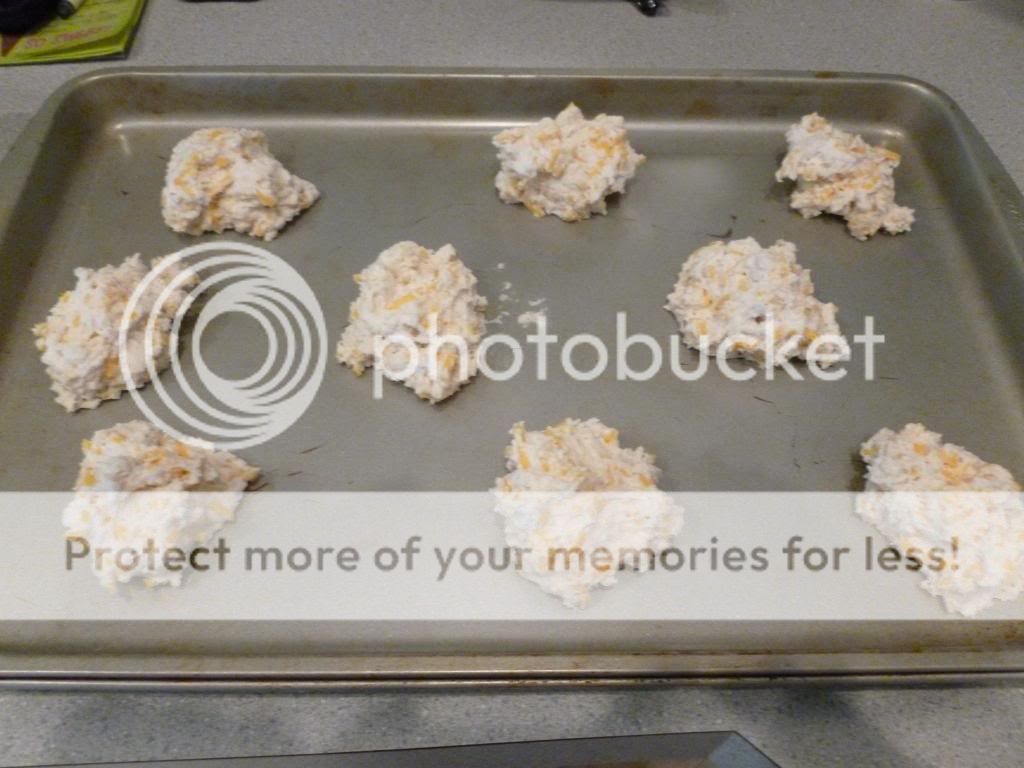
Next, drop dough by spoonfuls onto an ungreased cookie sheet. You should have 8 or 9 mounds of dough.
Bake 8 to 10 minutes or until a golden brown and not doughy looking.
Melt the butter in a microwaveable bowl and add the garlic powder. Then, brush the mixture over the rolls.
Finally, ENJOY!!! These biscuits are so cheesy and buttery and delicious!
Thursday, July 11, 2013
Summer Wreath
After taking down my 4th of July decorations I needed a wreath for my front door and was tired of the everyday one I had already. I knew I wanted to stick with purple colors to complement my door and match my welcome flag. After walking around the Dollar Store I decided on a Hawaiian Lei Wreath.
Supplies Needed:
12" Wreath Form (I used a 40% off coupon at local craft store)
5 Leis (from Dollar Store--they had a ton of colors)
Green Floral Wire
Straight Pin
Scissors
First, I took a lei and cut the string right near the knotted end.
Then I removed 4 flowers and the plastic spacers between them and retied a knot on the loose end. Repeat this for all five leis. Next, take a straight pin and pin the knot to the wreath and start wrapping one of the leis. When you get to the end, take another lei and tie that string to the string on the first lei.
Then, continue wrapping the leis and tying them together until all five are wrapped on the wreath form. You can fluff and space them to fill in any bare spots. Next, take green floral wire and cut a piece of it to wrap around a section of the lei in the back and knot into a loop. This forms a loop to hang the wreath from.
That's all there is to it - and supplies were under $10 - even better!
Finally, hang on your door.
Subscribe to:
Posts (Atom)


