When I was at the Dollar Store one day I came across packages of fall leaves made of fabric. I wasn't sure what I could do with them but in my cart they went. Then, once I started decorating for fall I realized I needed a fall banner in my front hallway. The Dollar Store leaves worked out perfectly!
All you need to make this are the leaves from the Dollar Store - or you could cut some out of scrapbook paper- and vinyl for the letters. I used a copper vinyl and cut the letters to spell "Happy Fall" out on my Silhouette. Then you put one letter on each leaf. To hang them I took the stem of the leaf and twisted it over the ribbon hanging on my wall. I LOVE how it turned out!
The calendar says it is Fall but here in Orlando it is still 90 degrees! I did break out the fall decorations the other day and realized I had a whole bag of pinecones and wasn't sure what to do with them. Here is what I came up with:
This craft is super easy, quick, and free! All you need is pinecones, ribbon, and a glue gun. First I cut a bunch of ribbon and then tied one end around the tips of the pinecones. Next, take and put a dab of glue on the tip to hold the ribbon securely onto the pinecones. Then I took a smaller piece of ribbon and tied a bow around where I put the hot glue. That is all there is to it! I hung them on the inside of my front door with a command hook. Perfect for the fall!
My boys have inherited my sweet tooth and love M & M's. They asked me to make them some cookies over the weekend and I had a bag of Fall Harvest colored M & M 's so I decided to whip up these M & M cookie bars. I love these because they are quick and easy, which is needed right now with a newborn!
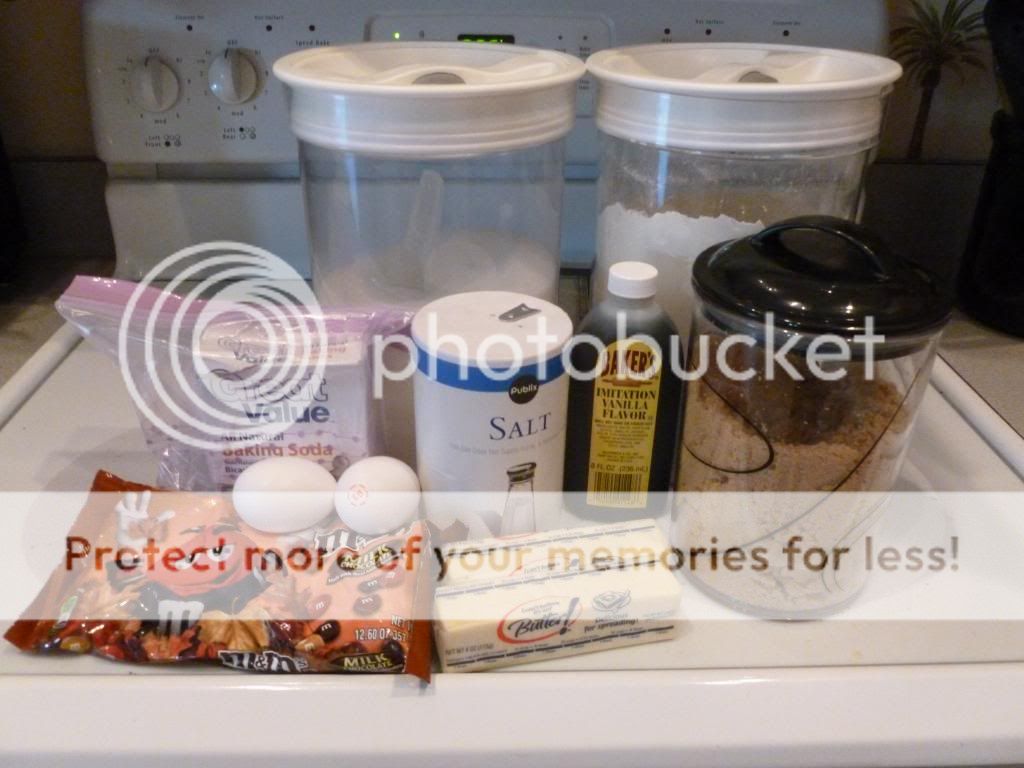
Ingredients Needed:
Ingredients for your favorite chocolate chip cookie recipe
1 bag of M & M 's
First, prepare your dough according to your favorite chocolate chip cookie recipe up to the point of adding the chips. I used the Nestle Toll House recipe.
Once the dough is made stir in the bag of M & M's.
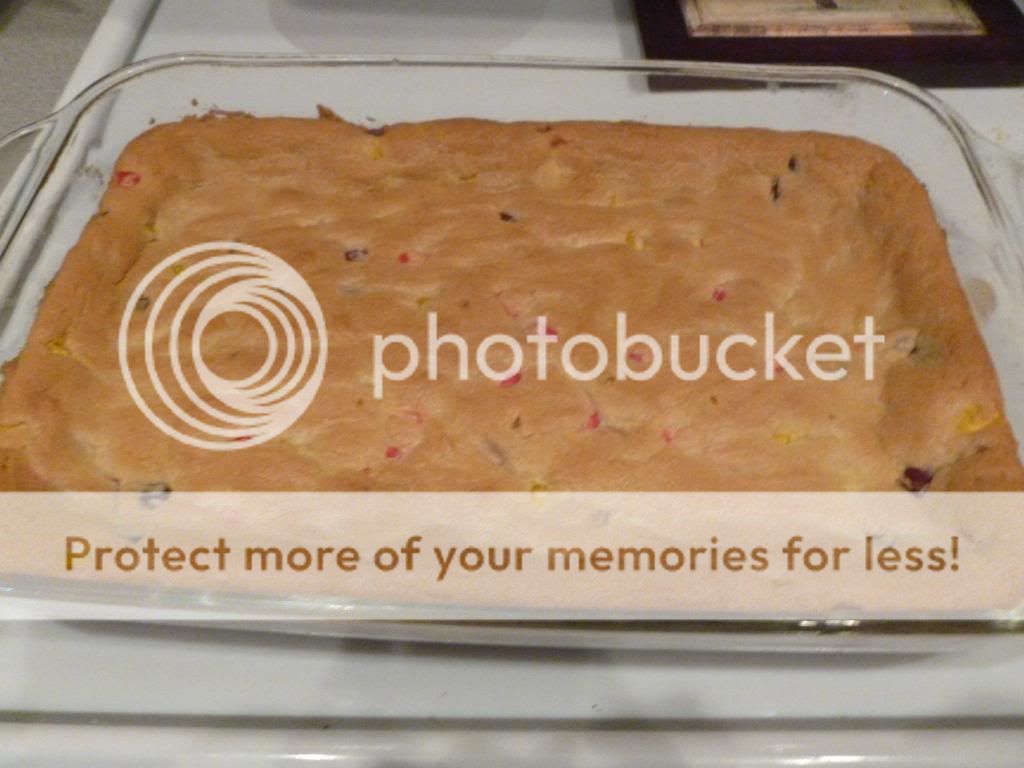
At this point you could make the dough into cookies but since I have a newborn and little time I decided to spread the dough in a 13 x 9 pan.
Next, cook in preheated 350 degree oven for about 20 minutes until golden brown and a toothpick inserted into the center comes out clean. Cool completely, cut, and enjoy the yummy M & M cookie bars!
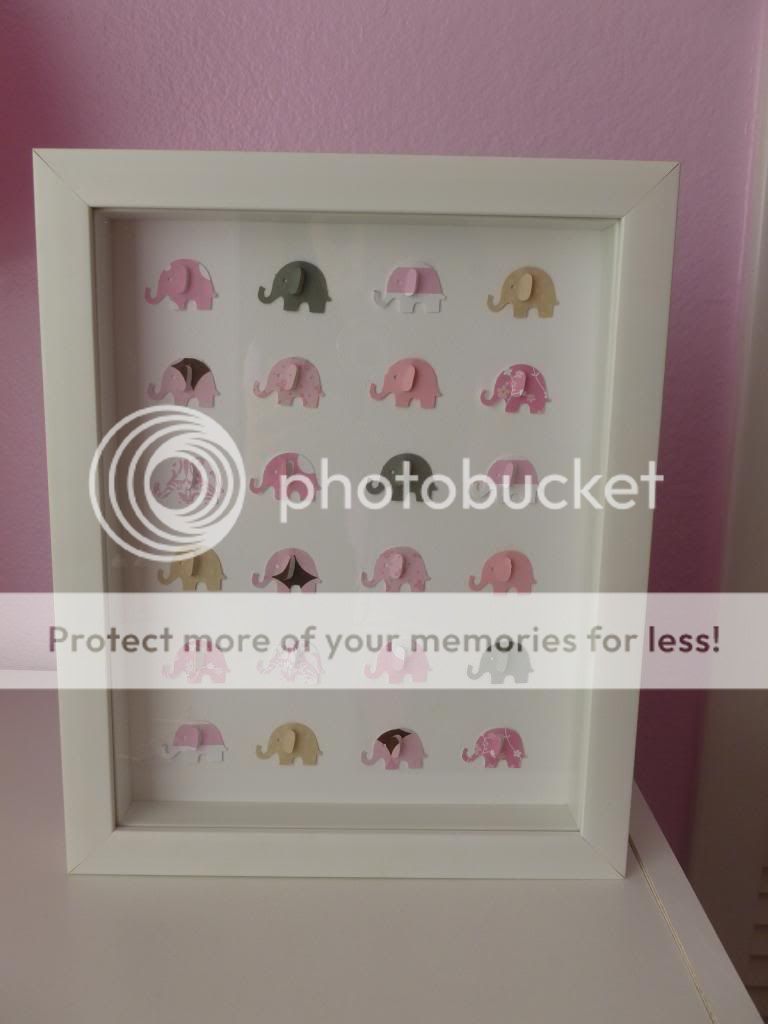
Today's Crafty Friday is an easy way to add custom artwork to your child's room. My little girl's room has a theme of pink elephants. I wanted something different and came up with this specimen art. I have made similar pieces for my Etsy shop and my own house for the holidays.
Supplies Needed:
8x10 shadow box (purchased at 40% off at local craft store)
elephant punch
scrapbook paper
white scrapbook paper for background
pop dots/dimensionals/glue dots
paper cutter
First, I used my elephant punch to make a bunch of elephants out of coordinating scrapbook papers. I ended up using 24 punched elephants for the project. You could use less if wanted.
This project is great because you could use any punch or cut shapes out on your cutting machine to coordinate with your room.
Next, trim a piece of white scrapbook paper to 8x10 to be the background to attach the elephants too.
Then I laid the background paper in the frame. I did this so I had an idea of where the edges were so I didn't place my elephants too close to the edge.
Then place the elephants in the desired pattern and adhere with a glue dot or pop dot for a 3d effect.
Finally, add the rest of the frame and hang! Easy, quick, and you can change it up to coordinate with any themed room or holiday!
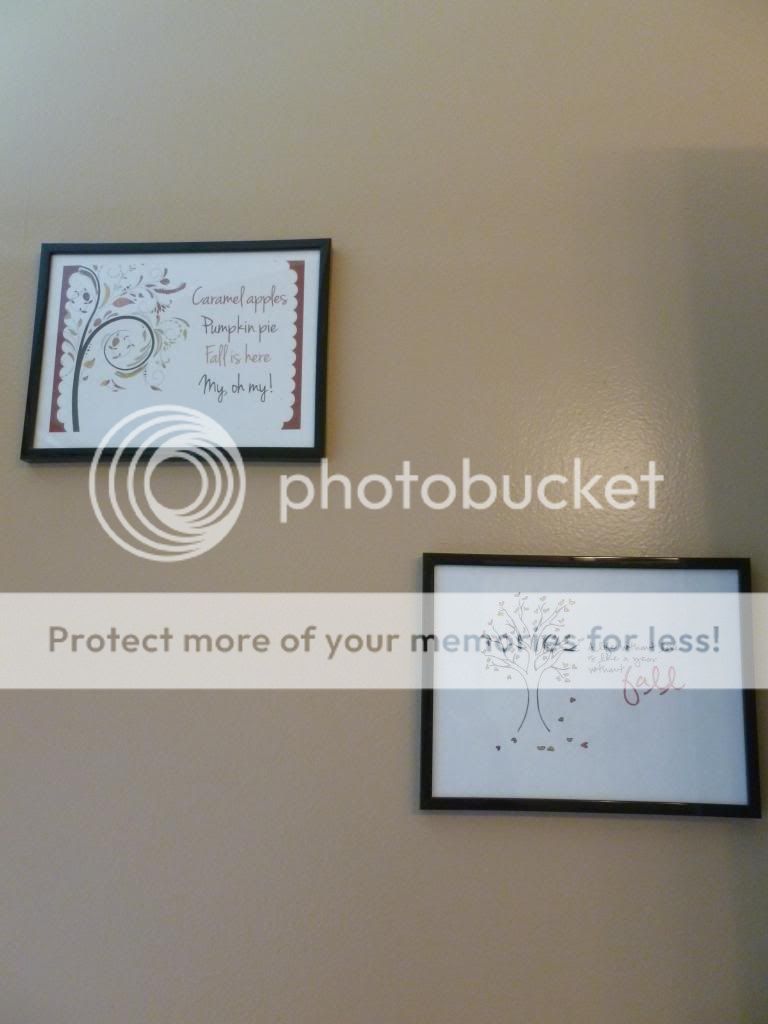
For the holidays I like to change out as much of my normal décor for holiday décor as possible. It can get expensive but here is an inexpensive way to change out your wall décor.
Supplies needed:
Inexpensive frames (I got mine at the dollar store)
Subway art printed from the internet
I went on Pinterest and typed in fall printable subway art. The search brought up so many options. I chose a few to print out as 4x6, 5x7, and 8x10 for different walls and rooms in my house. I then printed them in color on my printer and trimmed them to fit the frames. Then just hang them on the wall.
Here is my bathroom wall before:
And here it is after:
Easy, inexpensive, and festive!
When decorating my daughter's room I wanted something besides a wreath for her door. I got my inspiration for this project from pinterest. (I can't find the original link - sorry) Here is my take on an initial wall/door décor.
Supplies Needed:
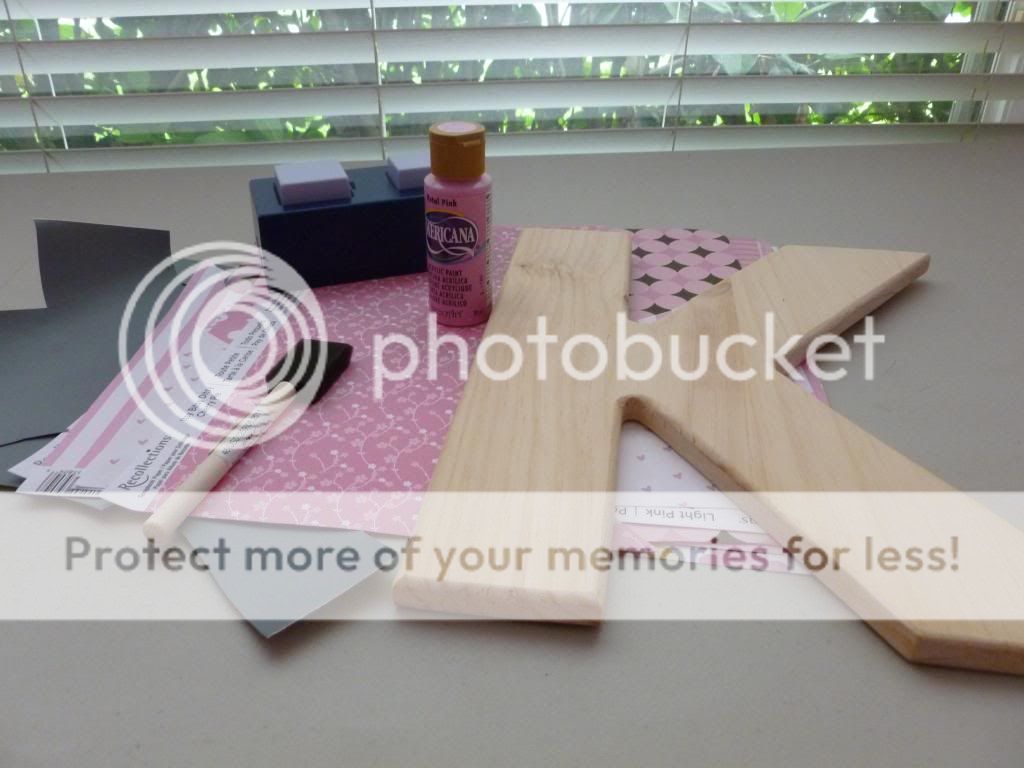
Wooden Letter (I used a 40% off coupon at local craft store)
Paint Foam Brush for paint
Scrapbook paper Square Punch
Picture Hanger Vinyl/Scrapbook Letters
First I attached a picture hanging hook to the back of the plain letter K. I plan on hanging it on the door with just a command hook since it is lightweight. It is important to do this step first so you do not ruin your paint job trying to attach it later.
Then I put a few coats of pink paint of the letter K front and sides. Allow each coat to dry completely before doing another coat.
While the paint was drying I took 2 coordinating scrapbook papers and punched out 2 different sized squares with my square punch. I used a gray and pink to match her room. I punched out 8 squares of each color - one for each letter of her name. If you don't have a punch you could use a cutting machine or do it by hand. The squares are 1 1/2" and 1 1/4" wide.
Next, attach the squares together with either double stick tape or glue.
I had originally planned on cutting out the letters of her name with gray vinyl but thought it was a little bland. So instead I used some glitter (of course) scrapbook letters. I placed one letter of her name on each of the stacked squares.
Once all the letters were placed on the squares I glued them down the side of the painted letter K. Her name is long so it was a tight fit.
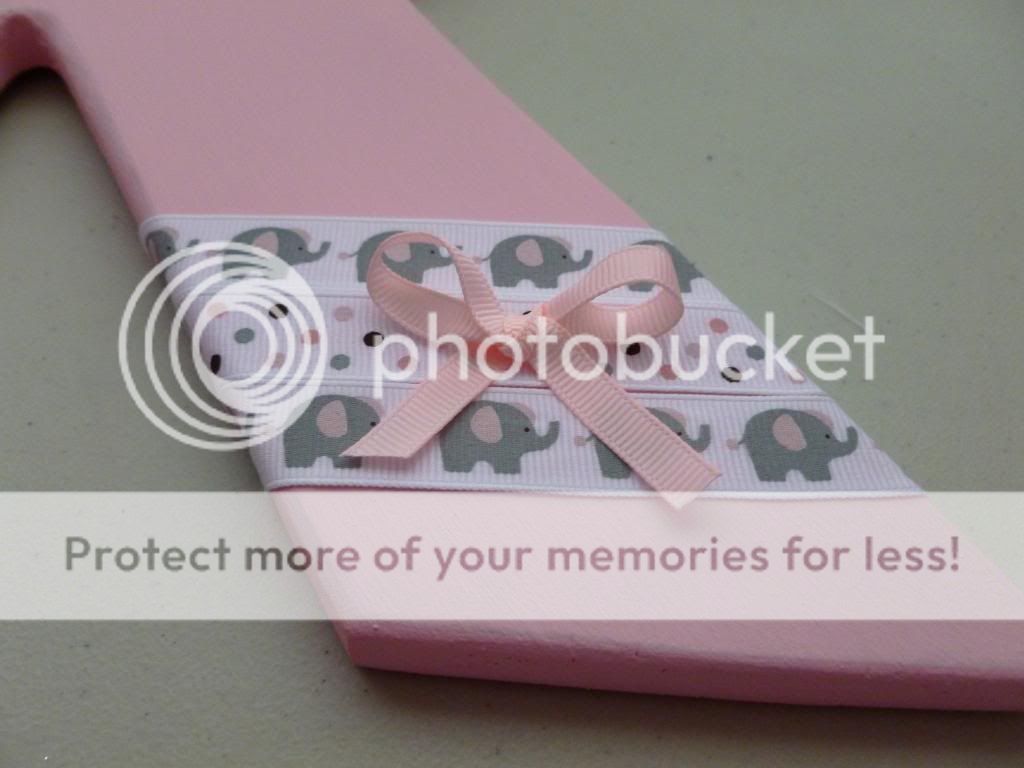
I decided that the right side of the letter looked a little dull. So I took some coordinating pink elephant ribbon and plain pink ribbon and attached with double stick tape and glue dots.
And that is it....all done!! I think it looks perfect on her bedroom door! More baby nursery décor to come!!
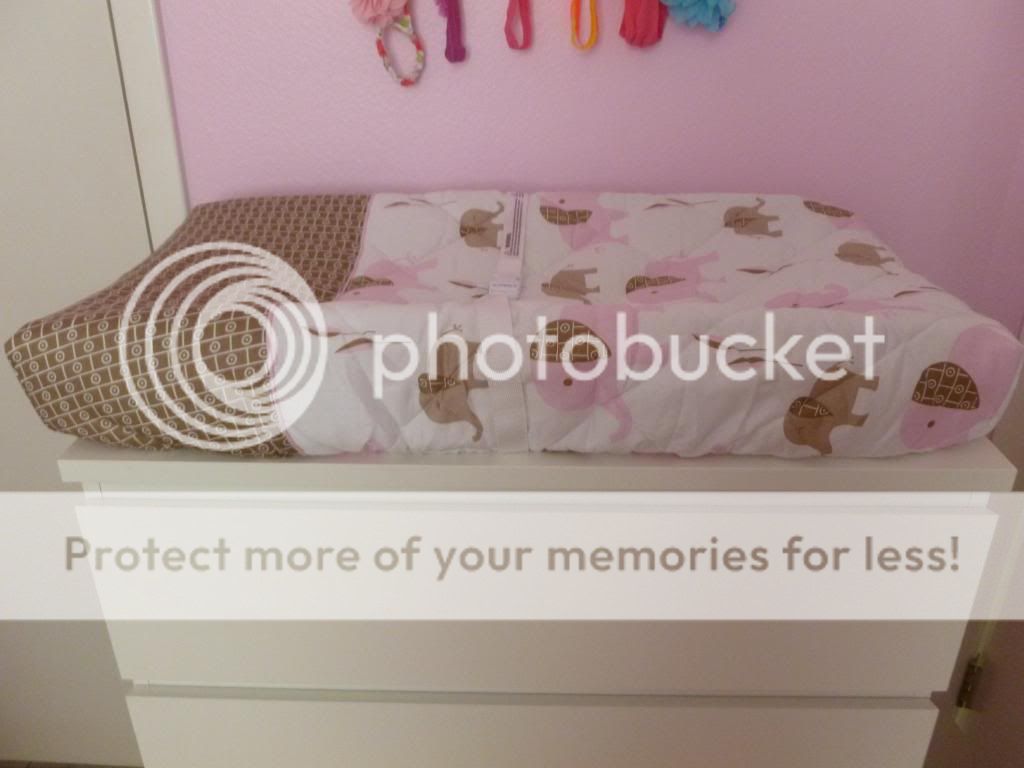
When we set up the baby's room we got a changing pad and placed it on top of the dresser in her room instead of buying a whole separate changing table. It has a safety strap which we bolted to the back of the dresser so it doesn't fall off but it still slipped around a bit. My solution......drawer liner!
Supplies Needed:
A roll of rubbery drawer/shelf liner
Scissors
All you need to do is measure the top of your dresser and cut a piece of the shelf liner to fit the top. I did make it a bit smaller than the top so no edges peeked out from under the changing pad.
Then place your changing pad back on top. We also made sure to reattach it to the back of the dresser. Now the pad stays in place and doesn't slide around.