Friday, August 23, 2013

Crafty Friday - Baby Clothes Closest Size Organizers

My little girl has a lot of clothes already.  I was hanging them in the closest was worried about how to organize them.  I also wanted to make sure my husband knew where to pull from when dressing her.  I saw a lot of size organizers for sale at the baby stores and couldn't justify the money, so I made my own and love them!!!


Supplies Needed:
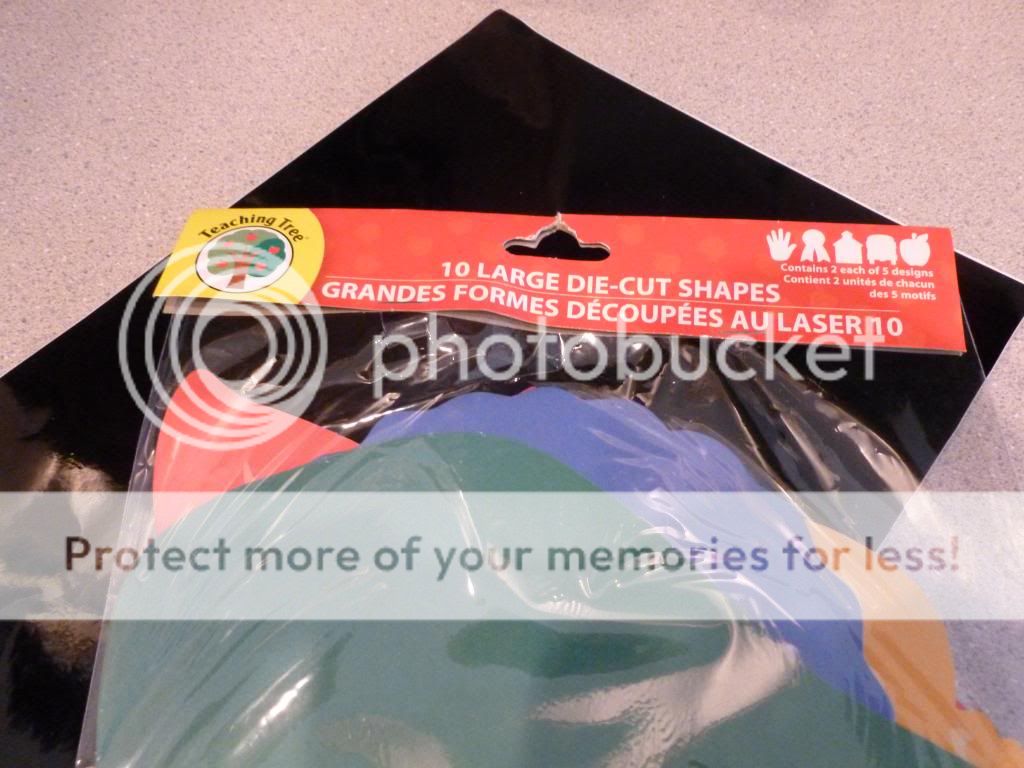
Cardboard Shapes ( I found mine in the dollar bins at Michaels)
Assorted Scrapbook Paper
Coordinating Vinyl
Double Stick Tape or your favorite adhesive
Scissors
Pencil
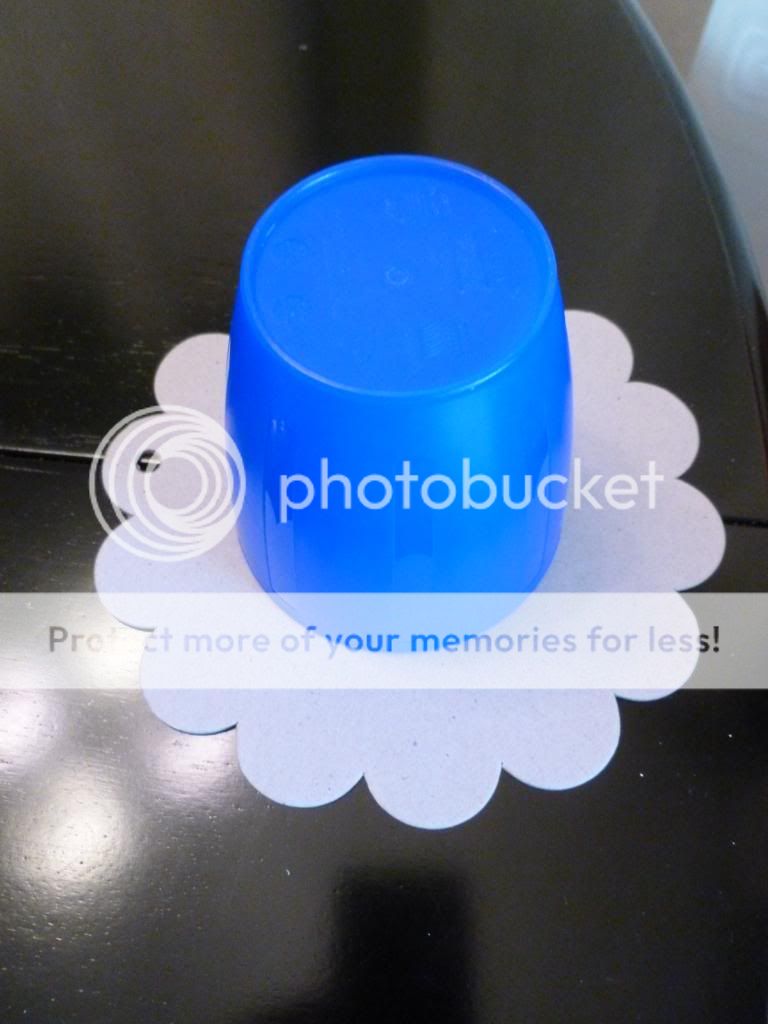
Circle Shape for Tracing


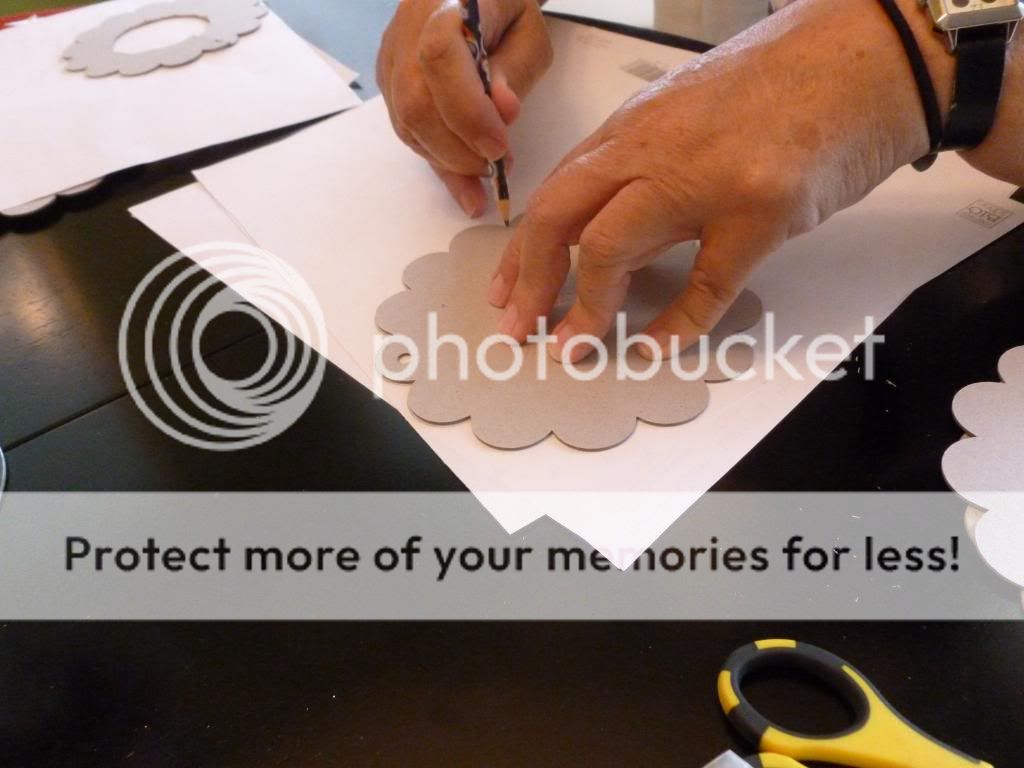
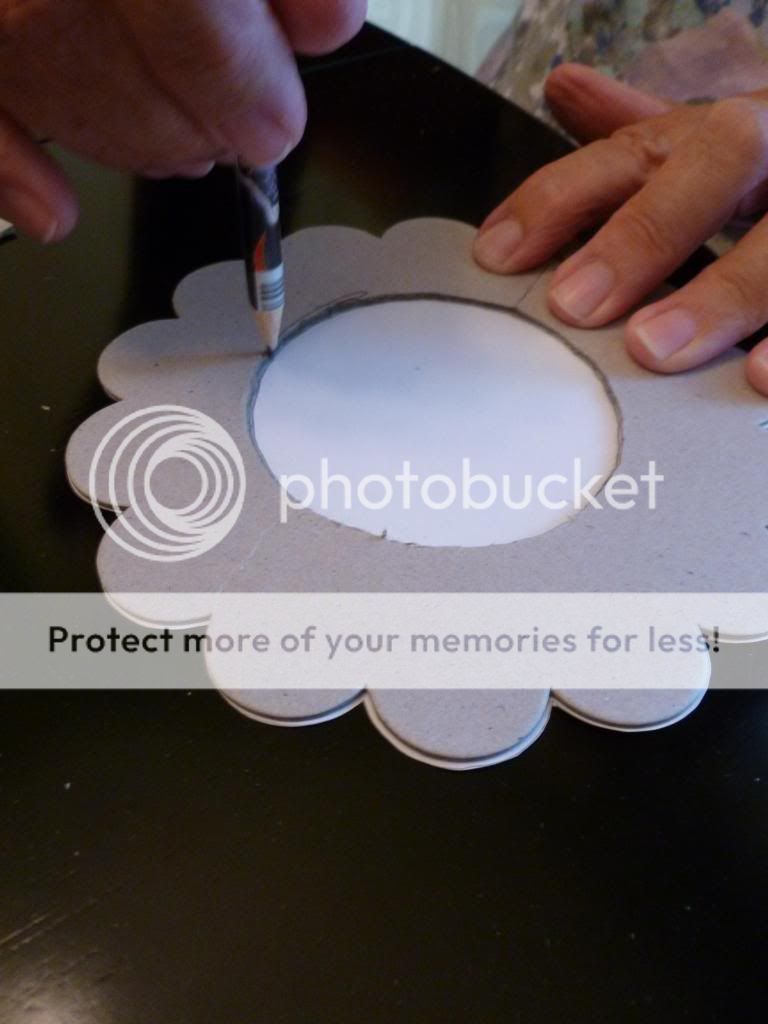
First, I took some flower shaped cardboard cutouts I found at the craft store and traced a circle in the center of them.   You could also use regular cardboard and cut out circles or shapes of your choice.  I used five of the flower shapes.


Next, I traced the flower shapes onto the backside of the scrapbook papers. 


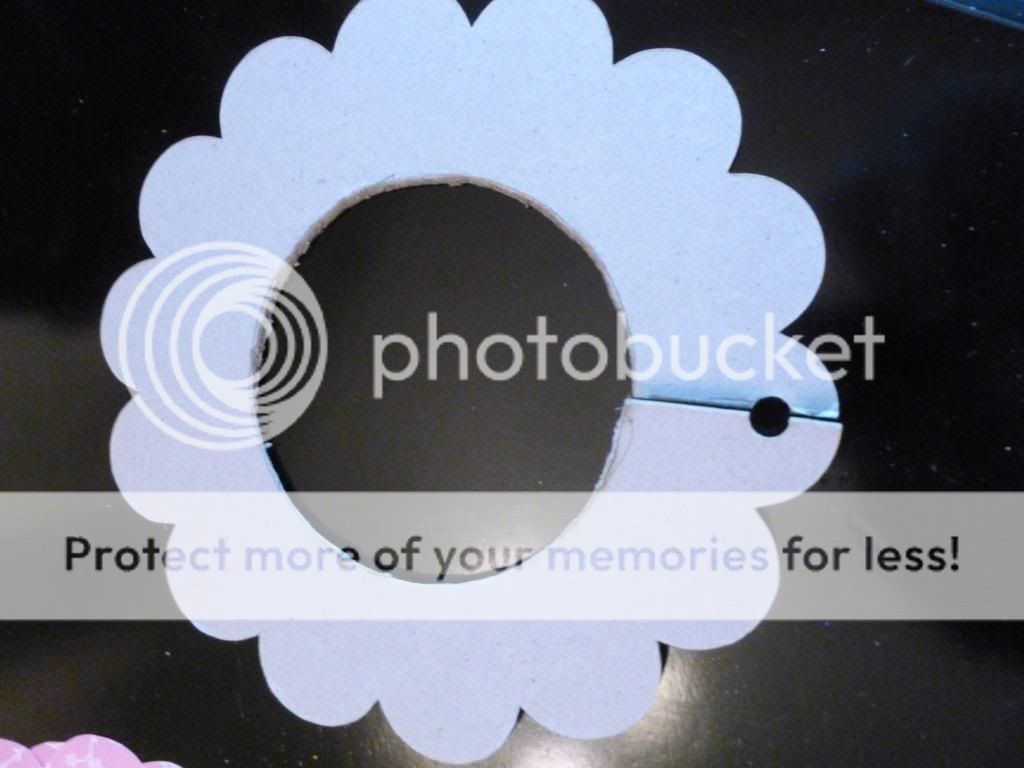
Then, take the cardboard flower shapes and cut out the circles you traced and also cut a slit from the outer edge to the inner circle.  You do this so you can slide it over the closest rod.


Next, cut out the flower shapes you traced onto the scrapbook papers.  


Then turn the paper over so you can use the white side and place the cardboard cut out on top of the paper.  Trace the cutout circle on the paper.  


And then cut out the inner circle from the scrapbook paper.  Also, cut down from the edge to the top of the inner circle so there is a slit for sliding over the closest hanging rod. 


Next, use your favorite adhesive to adhere the scrapbook paper to the cardboard flower.


I covered both sides of the cardboard flower with the same patterned scrapbook paper.  Then, I used my cutting machine to make numbers out of coordinating gray vinyl for the following sizes: 0-3 months, 3-6, 6-9, 9-12, 12 - .    You could also use scrapbook letters from the craft store already made.


Then adhere the numbers to the paper covered flower cutouts.  I put mine on the left hand side.  


Finally, hang the cutouts on your closest rod. 


 Now, hopefully my little one will wear everything before she outgrows them and I will stay organized!!! (And hubby won't try putting something on her that's too big!) 


Tuesday, August 20, 2013

Tip Tuesday - Organizing Baby Clothes

Having a little baby girl is exciting but has been different than my boys in some ways.  The first difference is the clothes.  There are so many adorable outfits and they all have little bloomers or pants. 
When I washed the clothes I started putting them away in the dresser and realized it wasn't going to work.  My wonderful husband would go to help dress her and she would end up wearing bloomers that didn't match the dress or pants and a top that didn't match.  What to do???  My solution......binder clips!!!!!


I had gone to the store and couldn't believe the price of hangers with clips attached!!  Then I looked into clothespins and still wasn't happy.  Then I remembered all the binder clips I had at home leftover from my office days and decided to give it a try.  It works so great!

First, I took the bloomers, pants, or skirts and laid them over the hanger and attached with a clip.   On the thinner clothes I used smaller clips and on the thicker items I used larger clips.


Then I just put the matching top or dress over it and hung in the closest.  


Perfect solution and now when my wonderful hubby helps dress her she will match!!!  Check back this week for how to make some cute clothes sizing organizers!!


Friday, August 16, 2013

Crafty Friday - Fall Wreath

With our new little girl arriving soon, I had some free time and decided to work on a fall wreath for either my front door or our entryway.  I love how it came out--and so did my grandmother who now wants me to make her one too!!  It is so easy - you can do it too!


Supplies Needed:
  A grapevine wreath - I used an 18" one bought at a local craft store with a 1/2 off coupon
Fake Silk Floral Stems - I used 2 bunches - 18 buds
Hot Glue Gun


I had some ribbon planned but decided it was too much and not needed.
First, take all of the flower buds off the stems and remove the plastic from them.


Next, put a dab of hot glue onto the end of the stem of the flower bud. 


Then just push into the grapevine wreath in between the vines.


Behind most of the flower buds, I placed some of the leaves from the stems with a dab of hot glue.  I continued around the wreath this way until all the buds were gone and the wreath was full.   I didn't add a hanger - I am just going to hang it on my wreath hook with the natural vines.  Easy, quick, and cost me under $10 with my coupons.  Perfect for fall!


Tuesday, August 13, 2013

Tip Tuesday - Table Toppers


I have a table in my entryway that holds a plant and hides our Christmas DVD's and CD's underneath it.   It usually has a green tablecloth on it and a plant.  It gets kind of boring.  To spice it up and decorate for holidays, which I love to do, I have an easy solution.  


First, purchase a yard of fabric in a pattern you like or a holiday theme.  I use a 40% or 50% coupon at my local craft store.  To give the fabric a hem, pin it all the way around the rectangle about a quarter inch.  Next, straight stitch by hand or on your sewing machine.  Now you have a table top cover!   Just place on top of your existing tablecloth and you have a different look.  I did splurge and buy an off white cloth at a local discount store for under the holiday patterns. It is so inexpensive with a coupon to make these that you can change it out often and not spend a lot of money!


Monday, August 12, 2013

Recipe Monday - Angel Food Cake with Chocolate Glaze

My birthday was this month and on your birthday in my family, you get to choose what kind of cake you would like.   Ever since I can remember I have always had the same thing - it is my favorite and has a secret surprise inside!!!   It is Angel Food Cake with Chocolate Glaze.   Oh, and to learn the surprise, keep reading!!


Ingredients Needed:
 Your favorite Angel Food Cake recipe (I use a box mix) and the ingredients to make it.

For Glaze:
1 1/2 squares unsweetened chocolate
2 tbsps. butter
3 tbsps. milk
1 cup confectioners sugar


First, bake your cake according to your favorite recipe.  I have made angel food cake from scratch before and it is a lot more work than a box mix (that to me tastes just as good).  So I take the quick and easy way out and use a box mix.  I always use a bundt pan to cook the cake in.  Make sure when cooling your angel food cake
to invert it in the pan on top of a bottle so it cools evenly.


While the cake is cooling, you can work on the secret surprise! My grandmother always put money, yes money, inside the cake for us!  And everyone got a coin in their slice.  It was the best part of having the cake.  And yes, I still have them do it for me!
First, take an assortment of coins and wrap them in plastic wrap.  We usually use quarters, dimes, and nickels. No one liked getting pennies.    


Then, take a knife and poke a hole in the cake and slide the coin in. 


Then keep sliding the coins into slits in the cake.  How many coins depends on the size slices you like.  We tend to put a lot in and some people get 2 or more coins - bonus! 
 ***If you make this recipe, please let people know before eating the cake that there is money in it and have them poke their slices with a fork or spoon to find the money before consuming their piece of cake!!!***

To make the glaze, melt the chocolate, butter and milk over low heat in a saucepan until melted. 


Add the confectioners sugar and stir until smooth and runny.


 Next pour over the cake.  It will be runny and drip down the edges.  You do want it to do that.


Then you let it cool.  Since I live in Florida where it is really humid I do put it in the fridge to set up.   
When ready, serve and have fun looking for money!!! 


Friday, August 9, 2013

Crafty Friday - Back to School Banner

I changed out the banner in my front entryway to Back to School to match my front alcove.  It was so easy and inexpensive! 


Supplies Needed:
Back to School shaped cutouts (I bought mine at the Dollar Tree)
Vinyl Letters or Scrapbook Letters
Mini Clothespins for Hanging


First, I cut out vinyl letters with my Silhouette to spell out "SCHOOL".  You could also buy pre-made letters.   Next, I put one letter on each of the die cut shapes.


Then I used mini clothespins to hung the cutouts on the ribbon in my front entryway.


And that is all there is too it!!  Easy, inexpensive, and helps get the kids excited about school!


Thursday, August 8, 2013

Back to School Decorations

My back to school alcove is all done and I am excited to share it with you!  My little guy "designed" the majority of the decorations.  


For directions on how to make the  Crayon Wreath  check out last week's Crafty Friday.

I also made a crayon shadow box with preschool paper and vinyl letters that say "School Rocks."  You can purchase a similar one in my Etsy shop. 


My little guy also requested a Back to School plate charger.


I also made a set of Back to School blocks similar to ones in my Etsy shop.  I just tied them with a flat chalkboard looking ribbon because my little guy thought a bow would be "too girly."


My little guy was so excited to see all his "creations" it really helped get him excited for school!! 

Check out my next post for the back-to-school banner I made. 


Tuesday, August 6, 2013

Tip Tuesday - Dressed Up Towels

In my bathroom I had these towels for years and my husband never said anything but I knew they were a little too flowery for him.


When I was shopping the other day at one of my favorite discount chains I found the striped purple towels on clearance.  When I put them up on the towel bar I thought they were an improvement, but needed something.......


To the rescue .......my ribbon stash!  I took some pieces of leftover cream ribbon and tied them back in the middle.   I think it added just the right amount of pick-me-up that they needed and didn't cost me anything extra!   And my husband likes them so much better than the flowers!  

Monday, August 5, 2013

Recipe Monday - Congo Sqaures

Today's recipe reminds me of growing up and of a relative we had that we called "Red Headed" Cousin Evelyn.  She had this bright red dyed hair and whenever she came to visit she always brought Congo Squares.   They are so yummy and rich and similar to a chocolate chip cookie bar.


Ingredients Needed:

2 2/3 cup sifted flour                     2 1/2 teaspoons baking powder
1/2 teaspoon salt                            2/3 cup shortening
2 1/4 cup packed brown sugar       3 eggs
1 cup chopped walnuts                  1 package chocolate chips

Preheat your oven to 350 degrees.
First, sift the flour, baking powder, and salt together in a bowl. 


Melt the shortening in a saucepan over low heat stirring frequently.


Once melted add the brown sugar and stir until well mixed.


Allow to cool slightly, then add the eggs one at a time, beating well after each addition. 


Then add the mixture to the dry ingredients and mix well.


Next, add the chopped walnuts and the chocolate chips mixing well. 


Pour into a greased 13 x 9 x 2 baking pan. 


Bake at 350 degrees for about 20-25 minutes until golden brown.
Remove from oven and let cool completely before cutting.  Then enjoy!!  And if there are any left store in an airtight container.