Welcome to Recipe Monday!
The recipe I have for you today is one my Great Grandmother used to make. I remember going to visit her in the summer on Cape Cod and she would have these yummy breakfast treats for us that she called hermits. And if we were really good we got to have them as snacks too!
Ingredients:
1 cup sugar 1/2 tsp. nutmeg
1/2 cup vegetable oil 1/2 tsp. cinnamon
3 cups flour 1/2 cup milk
1 tsp. baking soda 1/2 cup molasses
1/2 tsp. salt 1 cup raisins
Preheat your oven to 375 degrees .
First, mix together the sugar and the oil in a bowl and set aside. Then, sift together ALL the dry ingredients into another bowl.
In another bowl mix together the molasses and the milk ( I use 2% milk and they come out the same as with whole milk) After mixing the molasses and milk together slowly add it to the sugar and oil mixture stirring well. Then blend this mixture together with the dry ingredients until well mixed. Gently fold in the raisins.
Next, spread the mixture into a cookie sheet. I used my largest cookie sheet - it is about 17 x 11. And I did not grease it.
Put into the preheated oven and bake for about 15 minutes. You want them to be a golden brown and when a toothpick is stuck into the center no raw dough or crumbs should come back out on the toothpick.
Let the hermits cool completely before cutting into squares. I cut them right in the cookie sheet. Store the hermits in an airtight container for about a week. And I usually put wax paper in between the layers of the hermits so they don't stick together. If you like, they can be frozen for about 2 months.
Hermits make a great breakfast treat and my husband says they taste great with a cup of coffee!
Enjoy!
Welcome to Crafty Friday!
I am always looking for little ways to personalize the rooms in my house and wanted to change out my switch plate covers. Well, after shopping the home improvement stores and realizing how expensive they are, I turned to pinterest. I came across the idea to cover them with scrapbook paper - brilliant!! But even better you can also do the same thing with fabric. It is cheap, easy, and changeable.
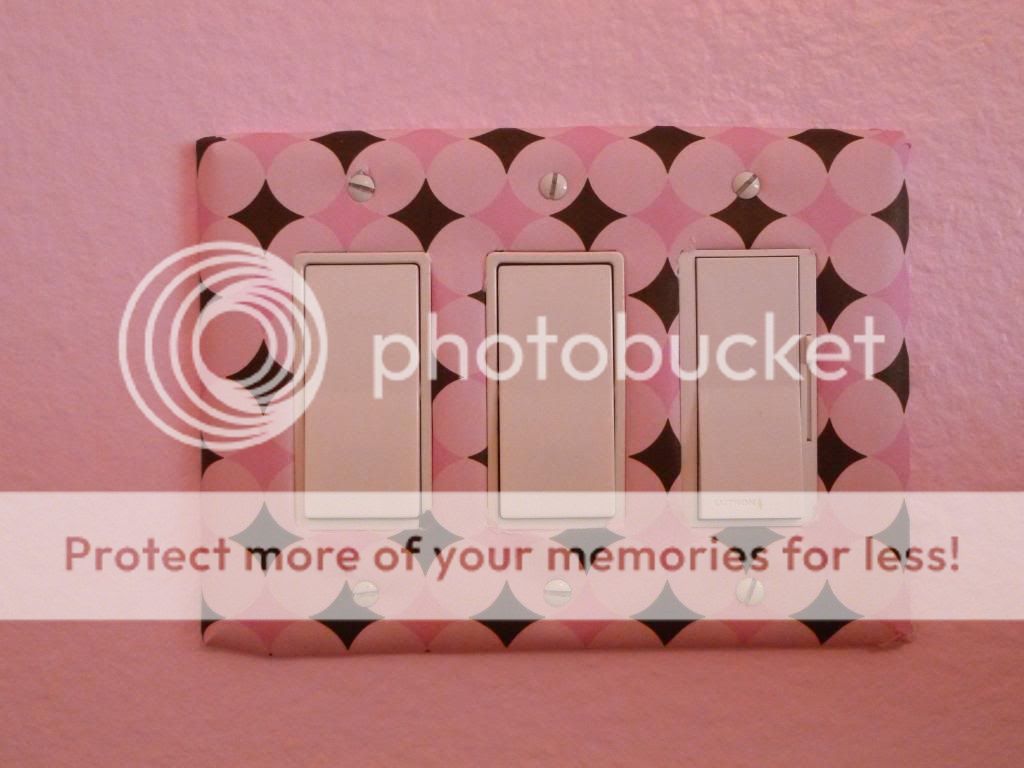
You can change them from drab.......
to fab ...............................
All you need is a scrap of fabric or scrapbook paper to match your décor, a pair of scissors, a screwdriver, and double stick tape.
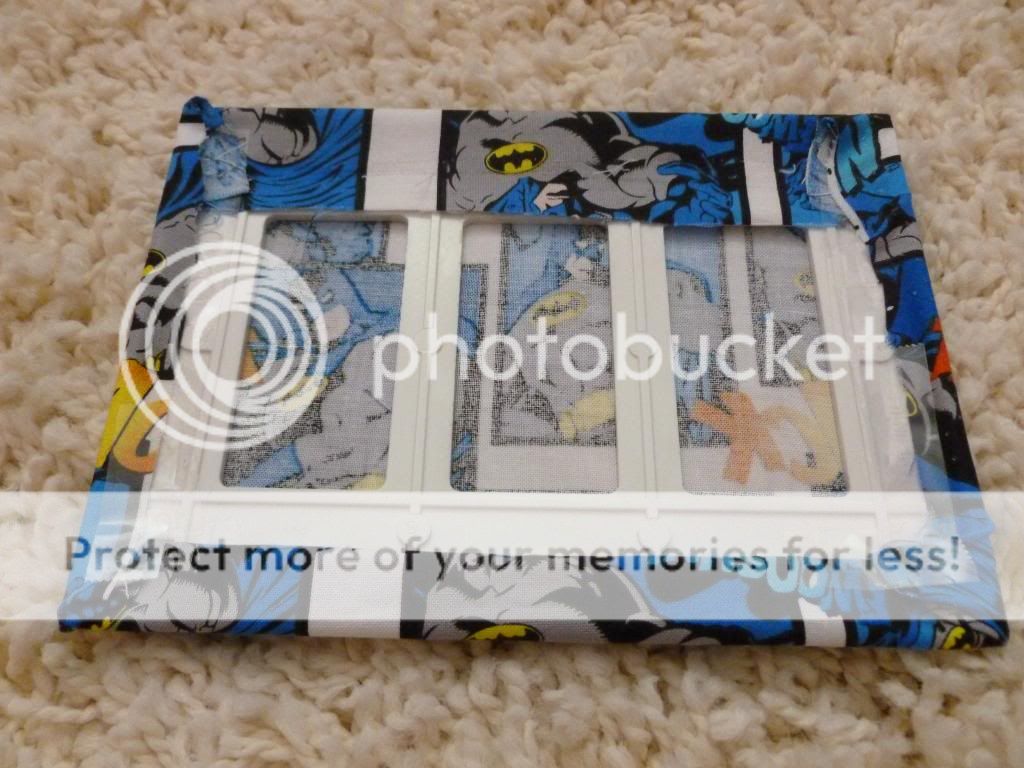
First, take the switch plate cover off the wall and lay face down on a piece of scrapbook paper or fabric and trace around the plate. Then trim the paper or fabric down adding an extra 1/2 inch all around. After it is trimmed to size, lay the switch plate cover down again and pull the paper/fabric over the edges and secure with double stick tape. A lot of the pinterest tutorials used spray adhesive or mod podge to secure the paper/fabric to the plates. I like to change things out a lot and wanted to be able to remove them without having to replace the covers from possible damage, so I used double stick tape. Continue taping down around all edges. It won't look pretty but no one will see it - it is the back. Be careful when using scrapbook paper to not pull too hard because you could rip it on the corners (I did the first time)
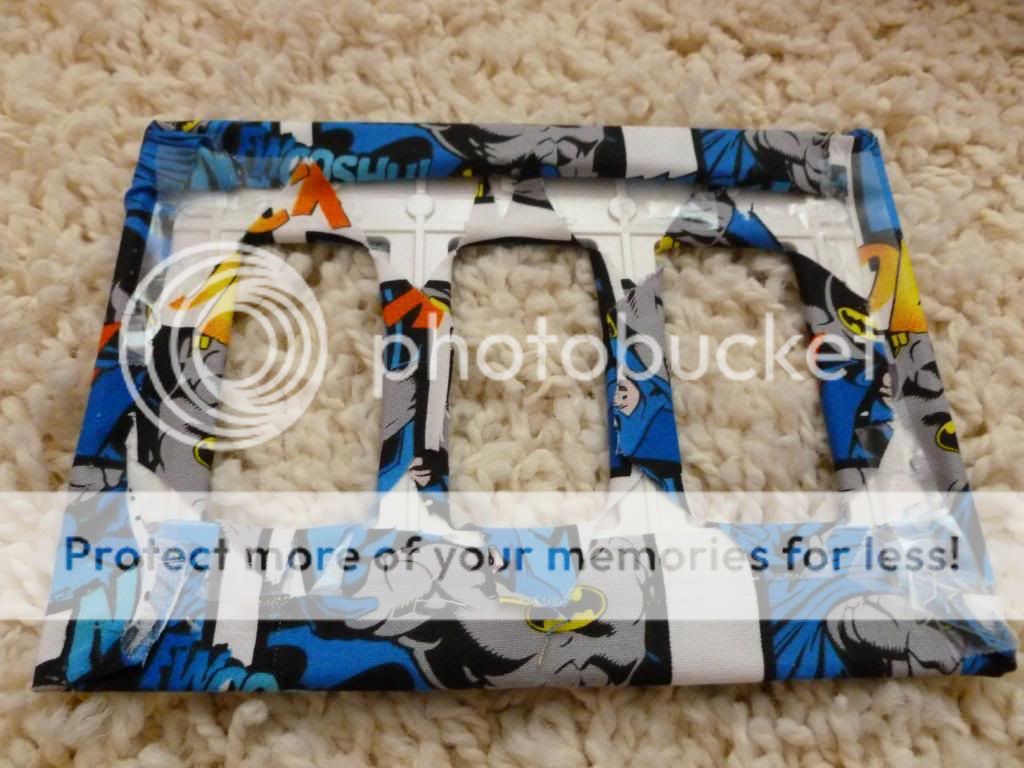
Next, I cut an X in the middle of the fabric/paper for each opening on the plate.
Then, I taped back the fabric/paper to the switch plate.
Again, it doesn't look pretty but no one will see it. Then I took the screwdriver and located where the holes are and carefully poked the screwdriver through the fabric/paper to make holes for the screws to go back through. All that is left to do is reattach to the wall and you are done.
My little guy was so excited to have a Batman switch plate cover - and it was so easy! I also recovered the switch plate cover in my little girl's room.
I have done this in almost all my rooms and when they get dirty or I get bored they remove easily and can be changed. Happy Covering!
Welcome to Water Wednesday!!
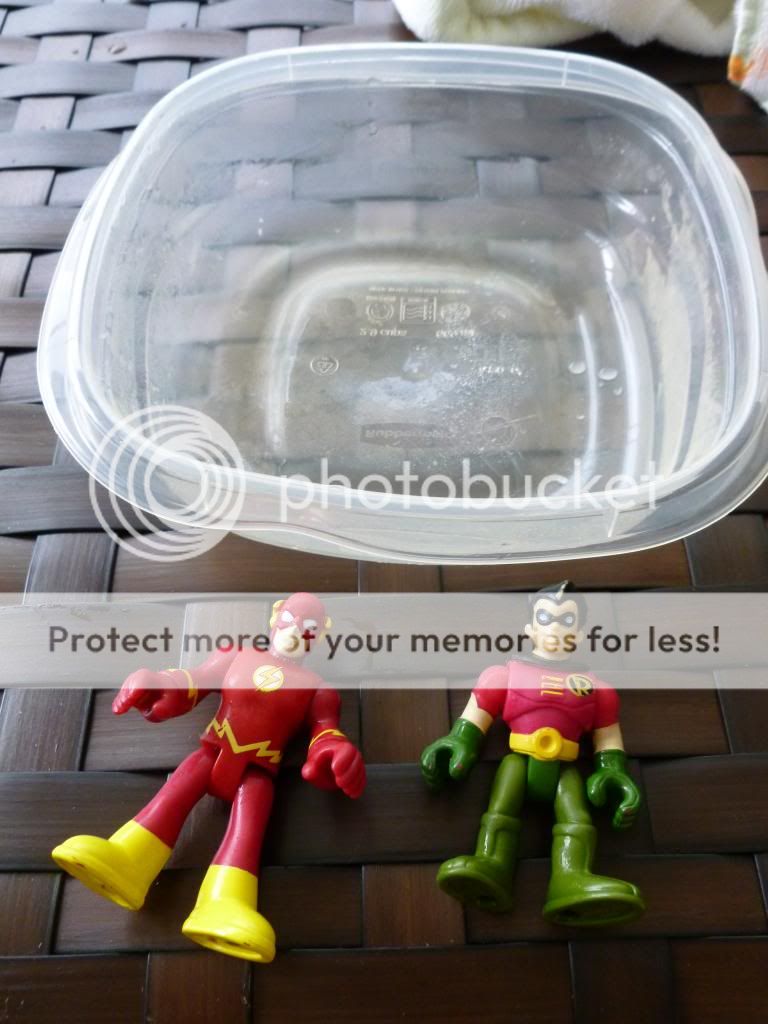
Today is an activity we have done a few times and my son adores - free the toys from the ice blocks!! All you need are some of your child's plastic toys, plastic containers, and water.
Since my son loves Superheroes, I took a few of the heroes and placed them in plastic containers. You could use animals, dinosaurs, bugs - anything that is all plastic - no fabric or hair ! Then you fill the containers with water until the toys are covered. Then, place the containers in the freezer - we froze them overnight.
The next day, I popped them out of the containers and placed them in our empty water table. You could place them on a deck, the ground, a plastic pool, wherever you want the mess to be contained. Then I filled a larger bucket with water for him to fill his squirt gun and containers with. We used our Max Liquidator Water Sprayers to spray water at the frozen blocks of ice.
You could use measuring cups, buckets, measuring spoons - whatever your kids can fill with water. After a while my little guy switched to a plastic watering can and bucket to free his guys quicker. You can also freeze two containers of plastic toys like we did and have a race to see who can free their toys first. My little Batman even made up a story to tell me as he was freeing them. It involved Mr. Freeze and Batman of course!!! After a while of getting the toys and himself wet they were free!
It is a fun activity for a hot day and best of all, it doesn't cost anything!!